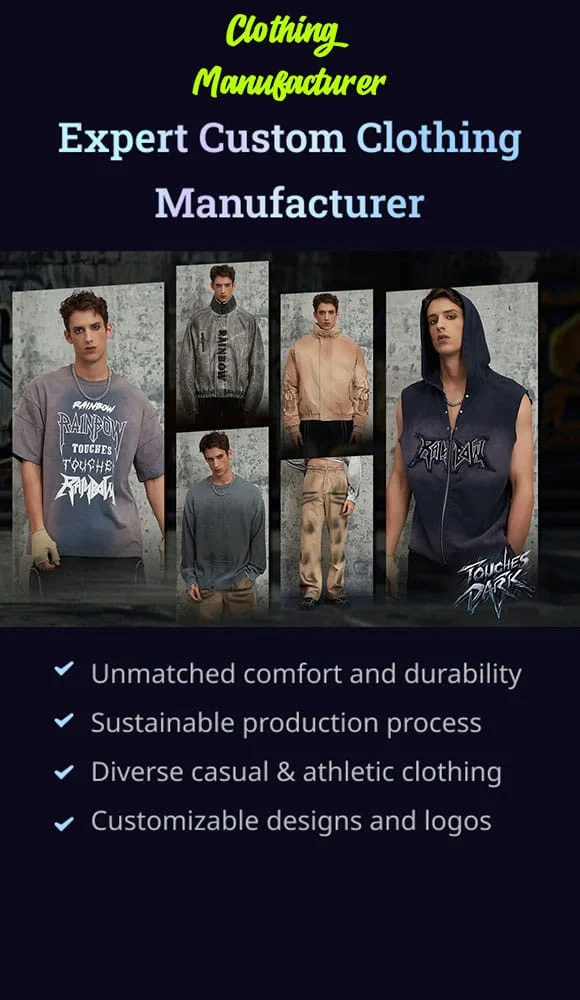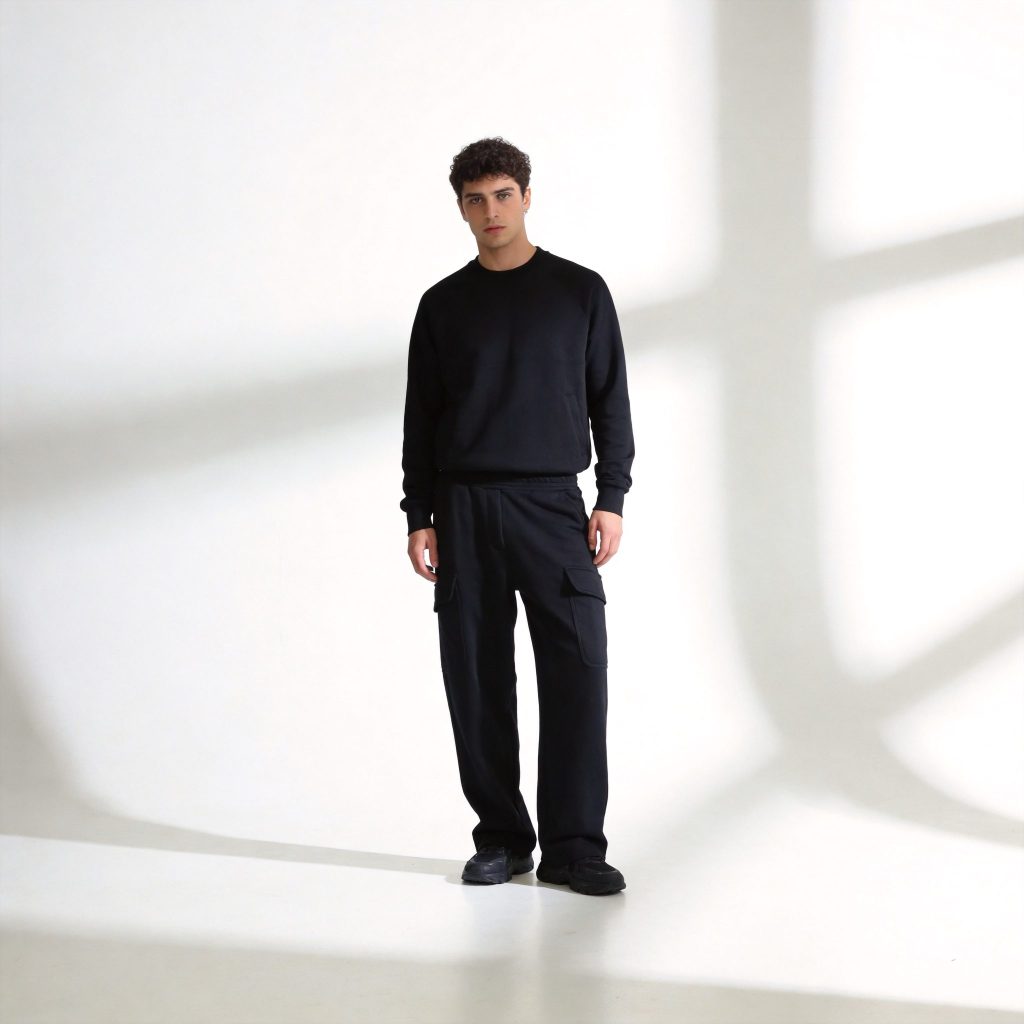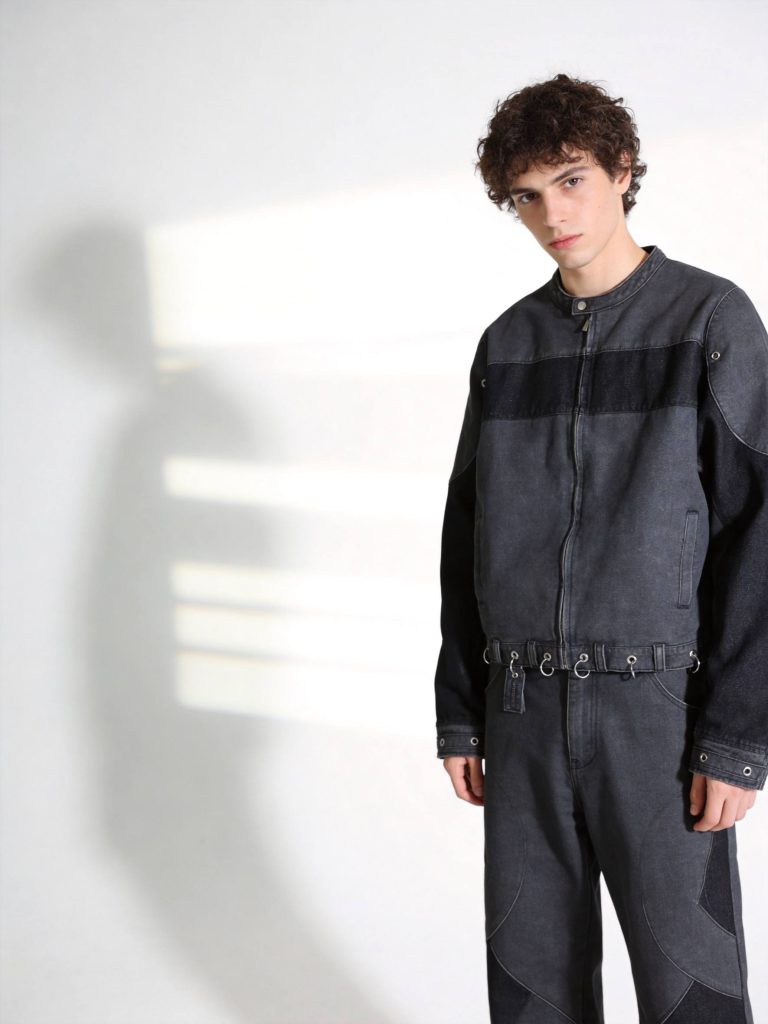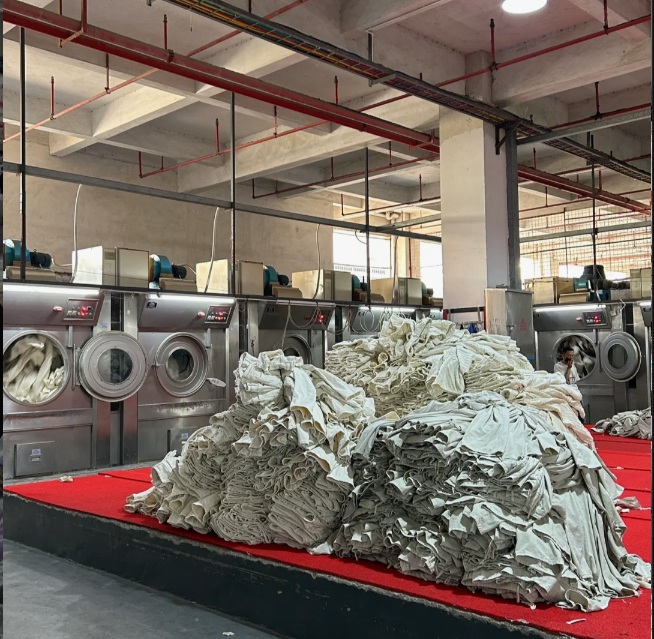
TL;DR: Making customized t-shirts online involves selecting a platform (Printful, CustomInk, UberPrints), designing your graphic using free tools, choosing shirt style and color, and placing an order—all without minimum quantities or upfront inventory costs.
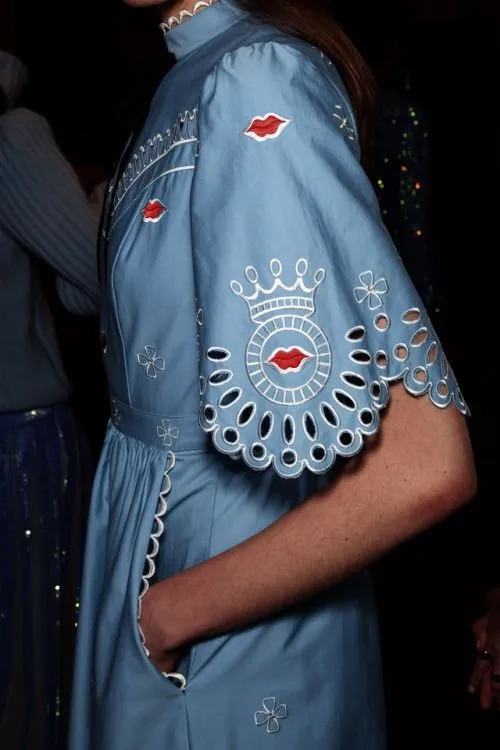
Bottom line: Ideal for solo entrepreneurs, influencers, small businesses, and established brands testing new designs; not suitable for ultra-high-volume production requiring complex fabric sourcing or specialized garment construction.
Last updated: 2026-06-28, based on 27 years of apparel manufacturing experience and analysis of 2,000+ brand launches across global markets.
Key Takeaways
- No minimums required: Platforms like Printful and UberPrints allow single-shirt orders, eliminating inventory risk for startups testing designs.
- Free design tools included: Most services provide drag-and-drop editors; no graphic design degree necessary to create professional-looking custom apparel.
- Multiple printing methods available: Screen printing delivers vibrant, durable results for bold graphics; DTG handles photorealistic images; embroidery commands premium pricing at 2–3× base cost.
- Turnaround scales with budget: Standard production takes 7–10 business days at $5–$10 shipping; express options (1–2 days) cost $30–$50 extra but guarantee event deadlines.
- Volume pricing drops sharply: Single shirts cost $15–$40; bulk orders of 50+ units reduce per-piece pricing to $8–$15, making scaled production economically viable.
What Is Customized T-Shirt Printing & How Does It Work?
Customized t-shirt printing is on-demand production of personalized apparel using digital design tools and professional printing technology, eliminating minimum order quantities and upfront inventory costs. Unlike traditional bulk manufacturing—which demands 50+ minimum orders, weeks of lead time, and warehouse storage—print-on-demand (POD) services produce garments only after you place an order.
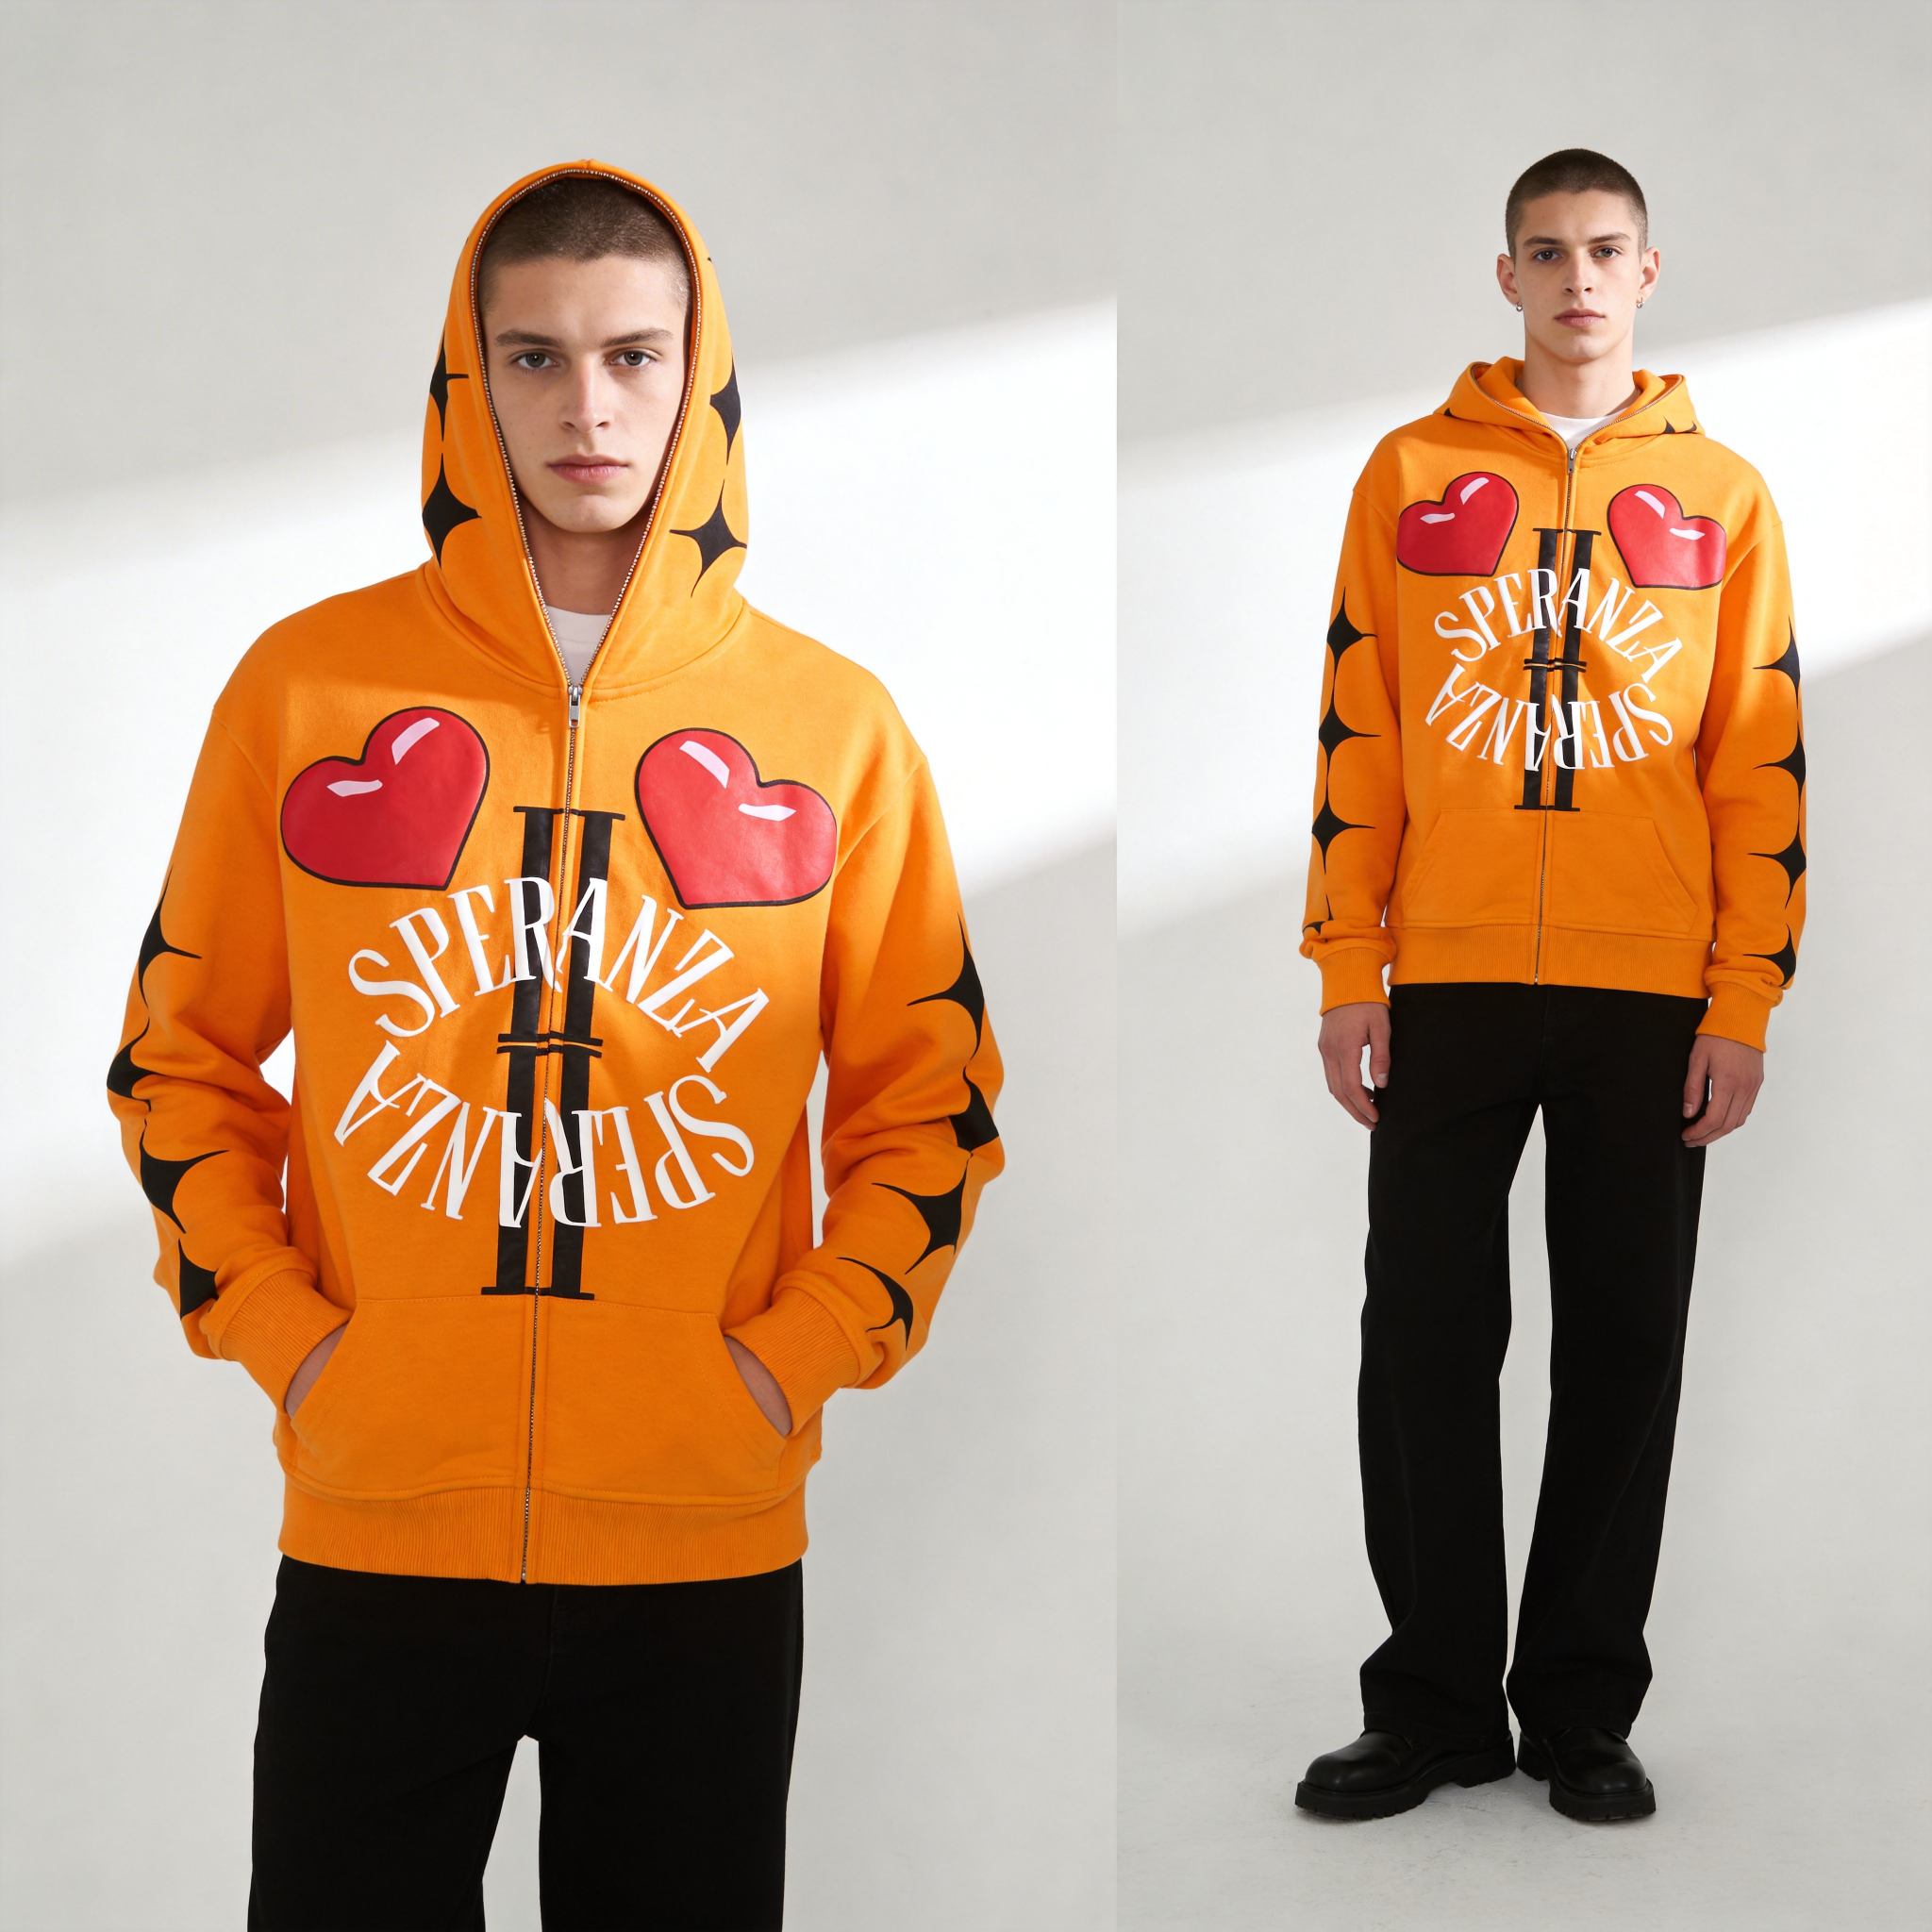
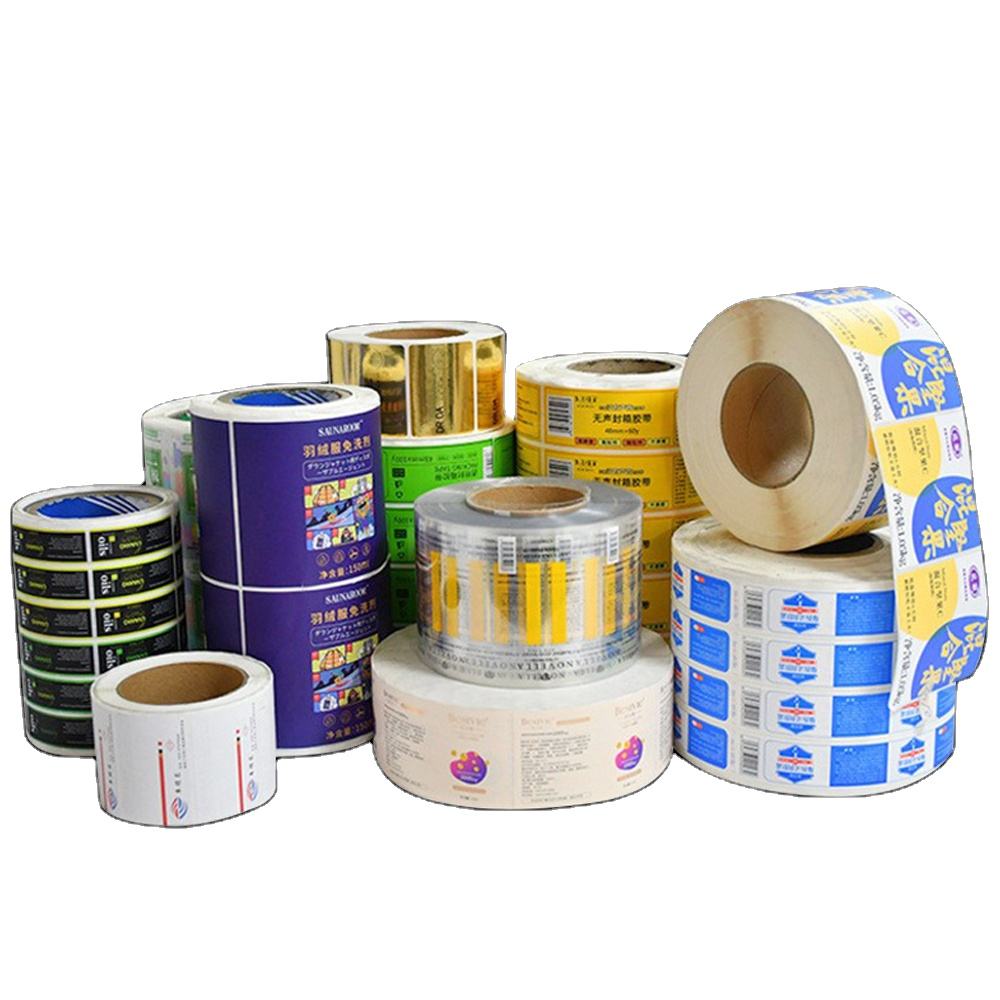
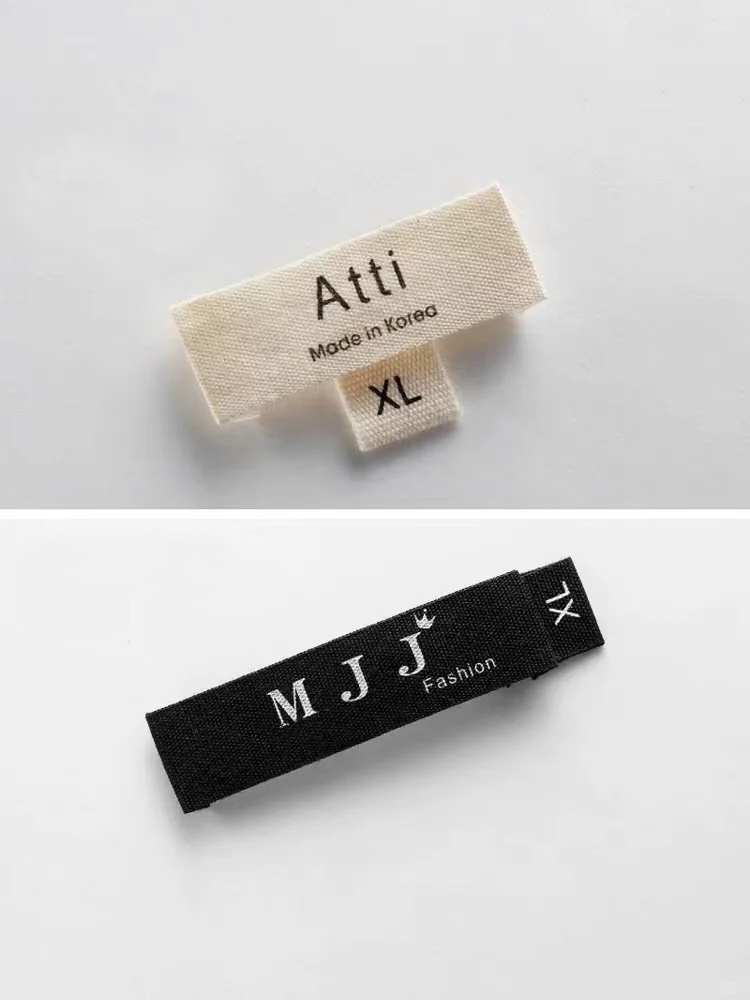
The production sequence follows: (1) Design Phase — Upload artwork or customize a template using the platform’s editor. (2) Submission Phase — Select shirt style, color, size distribution, and quantity, then review a digital mockup. (3) Production Phase — The factory prints your design using screen printing, DTG, embroidery, or heat transfer. (4) Fulfillment Phase — Finished shirts undergo quality inspection, get packaged with custom labels if specified, and ship via USPS, UPS, FedEx, or DHL.
Each stage is tracked online with real-time order status updates and 24/7 customer support. The entire workflow typically completes in 7–15 business days depending on service tier and shipping method.
Print-On-Demand vs. Bulk Manufacturing vs. Local Print Shops
| Feature | Print-On-Demand (POD) | Bulk Manufacturing | Local Print Shops |
|---|---|---|---|
| Minimum Order | 1 shirt | 50–500+ units | 1–10 shirts |
| Per-Unit Cost | $15–$40 (single); $8–$15 (50+) | $5–$12 (high volume) | $12–$25 |
| Turnaround Time | 7–10 days standard; 1–2 days express | 14–30 days | 3–7 days |
| Design Customization | Limited (pre-set colors/styles) | Extensive (custom cuts, fabrics, washes) | Moderate (standard printing methods) |
| Inventory Risk | None (order-to-production) | High (must buy full batch) | Low (small batches) |
| Ideal For | Startups, testing, single orders | Established brands, 100+ units | Local teams, events, niche designs |
Use POD if you’re testing a design or ordering fewer than 50 units. Switch to bulk manufacturing once you’re confident in a design and need 100+ units to justify lower per-unit costs. Choose local print shops for premium finishing or when you need turnaround in under one week.
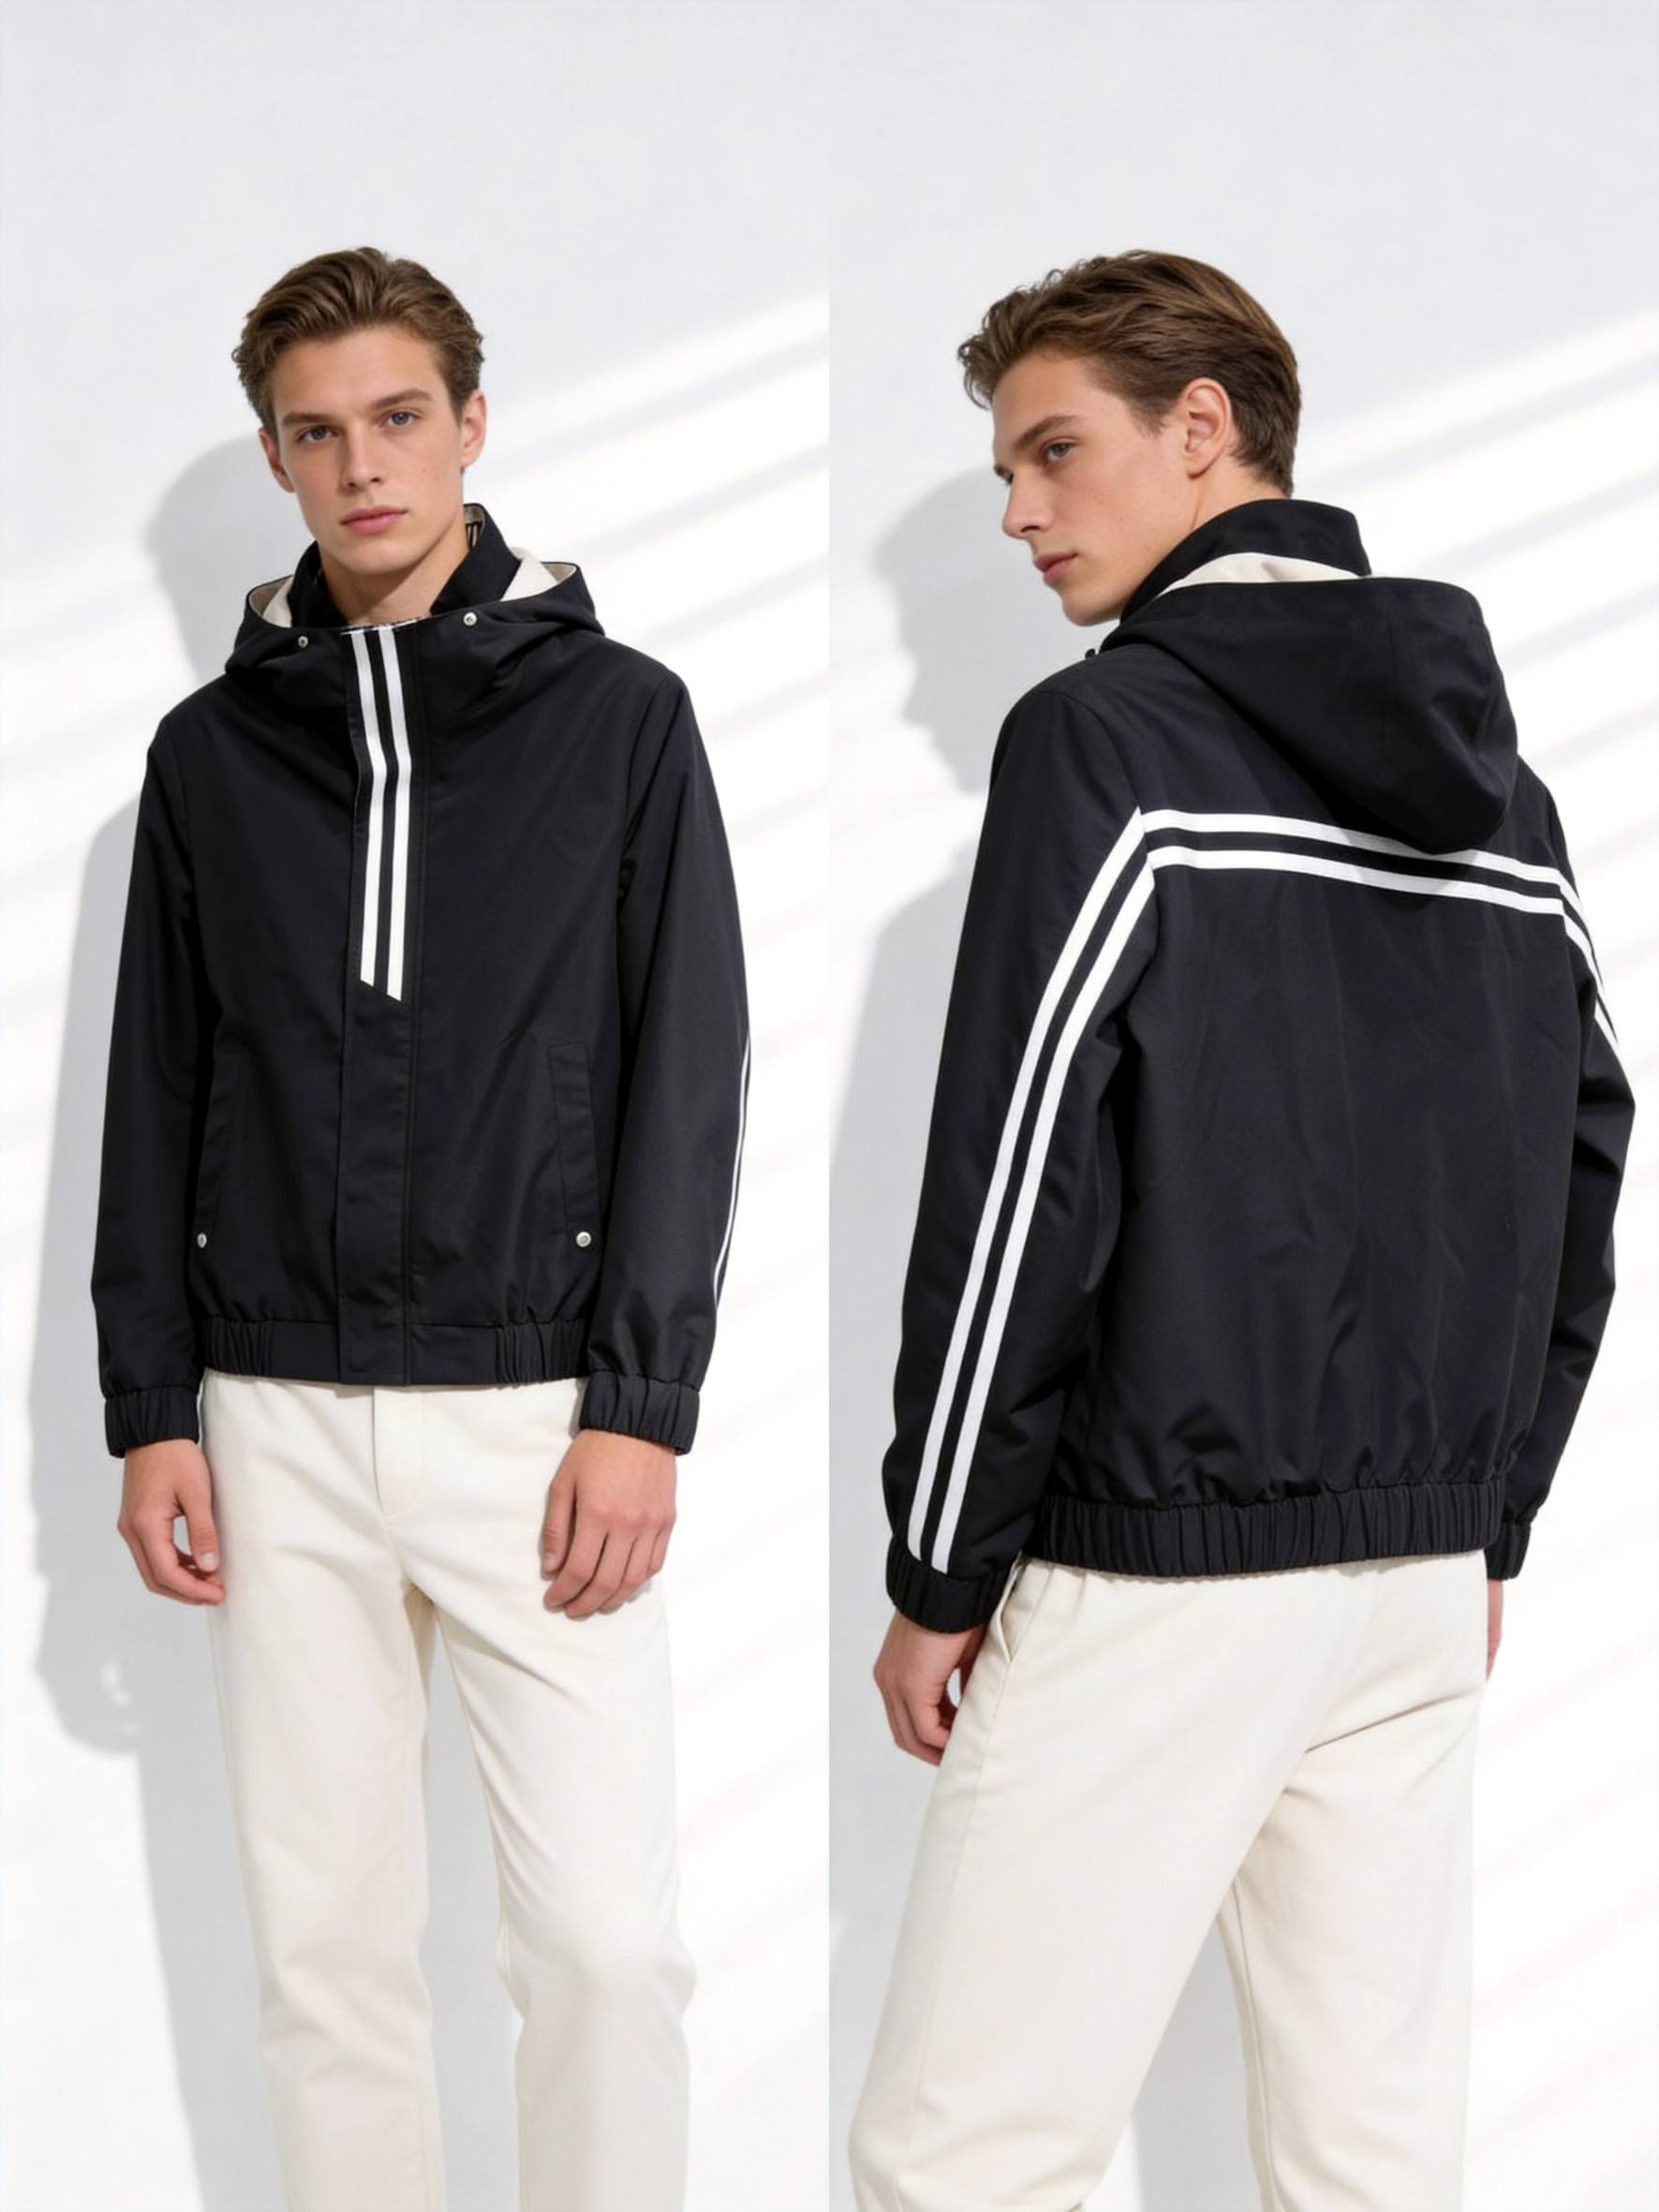
5 Mistakes When Designing & Ordering Customized T-Shirts
Mistake 1: Uploading Low-Resolution Artwork
Uploading artwork under 300 DPI results in pixelated, blurry prints. Most platforms require 300 DPI minimum for screen printing and DTG. Export your design as high-resolution PNG or PDF from Canva, Adobe Express, or Kittl before uploading. Check the platform’s file requirements—many specify 1200×1200 pixels minimum for front-chest designs.
Mistake 2: Ignoring Fabric Shrinkage
Cotton t-shirts shrink 3–5% after the first wash if not pre-shrunk. Check if the platform specifies “pre-shrunk” fabric in the product description. For specific fit or event uniforms, size up by one size or request the factory to pre-wash the garment—some platforms offer this for $2–$3 per shirt.
Mistake 3: Choosing the Wrong Printing Method
Screen printing creates vibrant colors and lasts 50+ washes but works best for simple, bold designs with 1–4 colors. DTG handles photorealistic images and gradients but fades faster—typically 20–30 washes before noticeable degradation. Embroidery commands 2–3× base cost but delivers unmatched durability. Match your design complexity to the method: simple logos → screen printing; detailed photos → DTG; premium branding → embroidery.
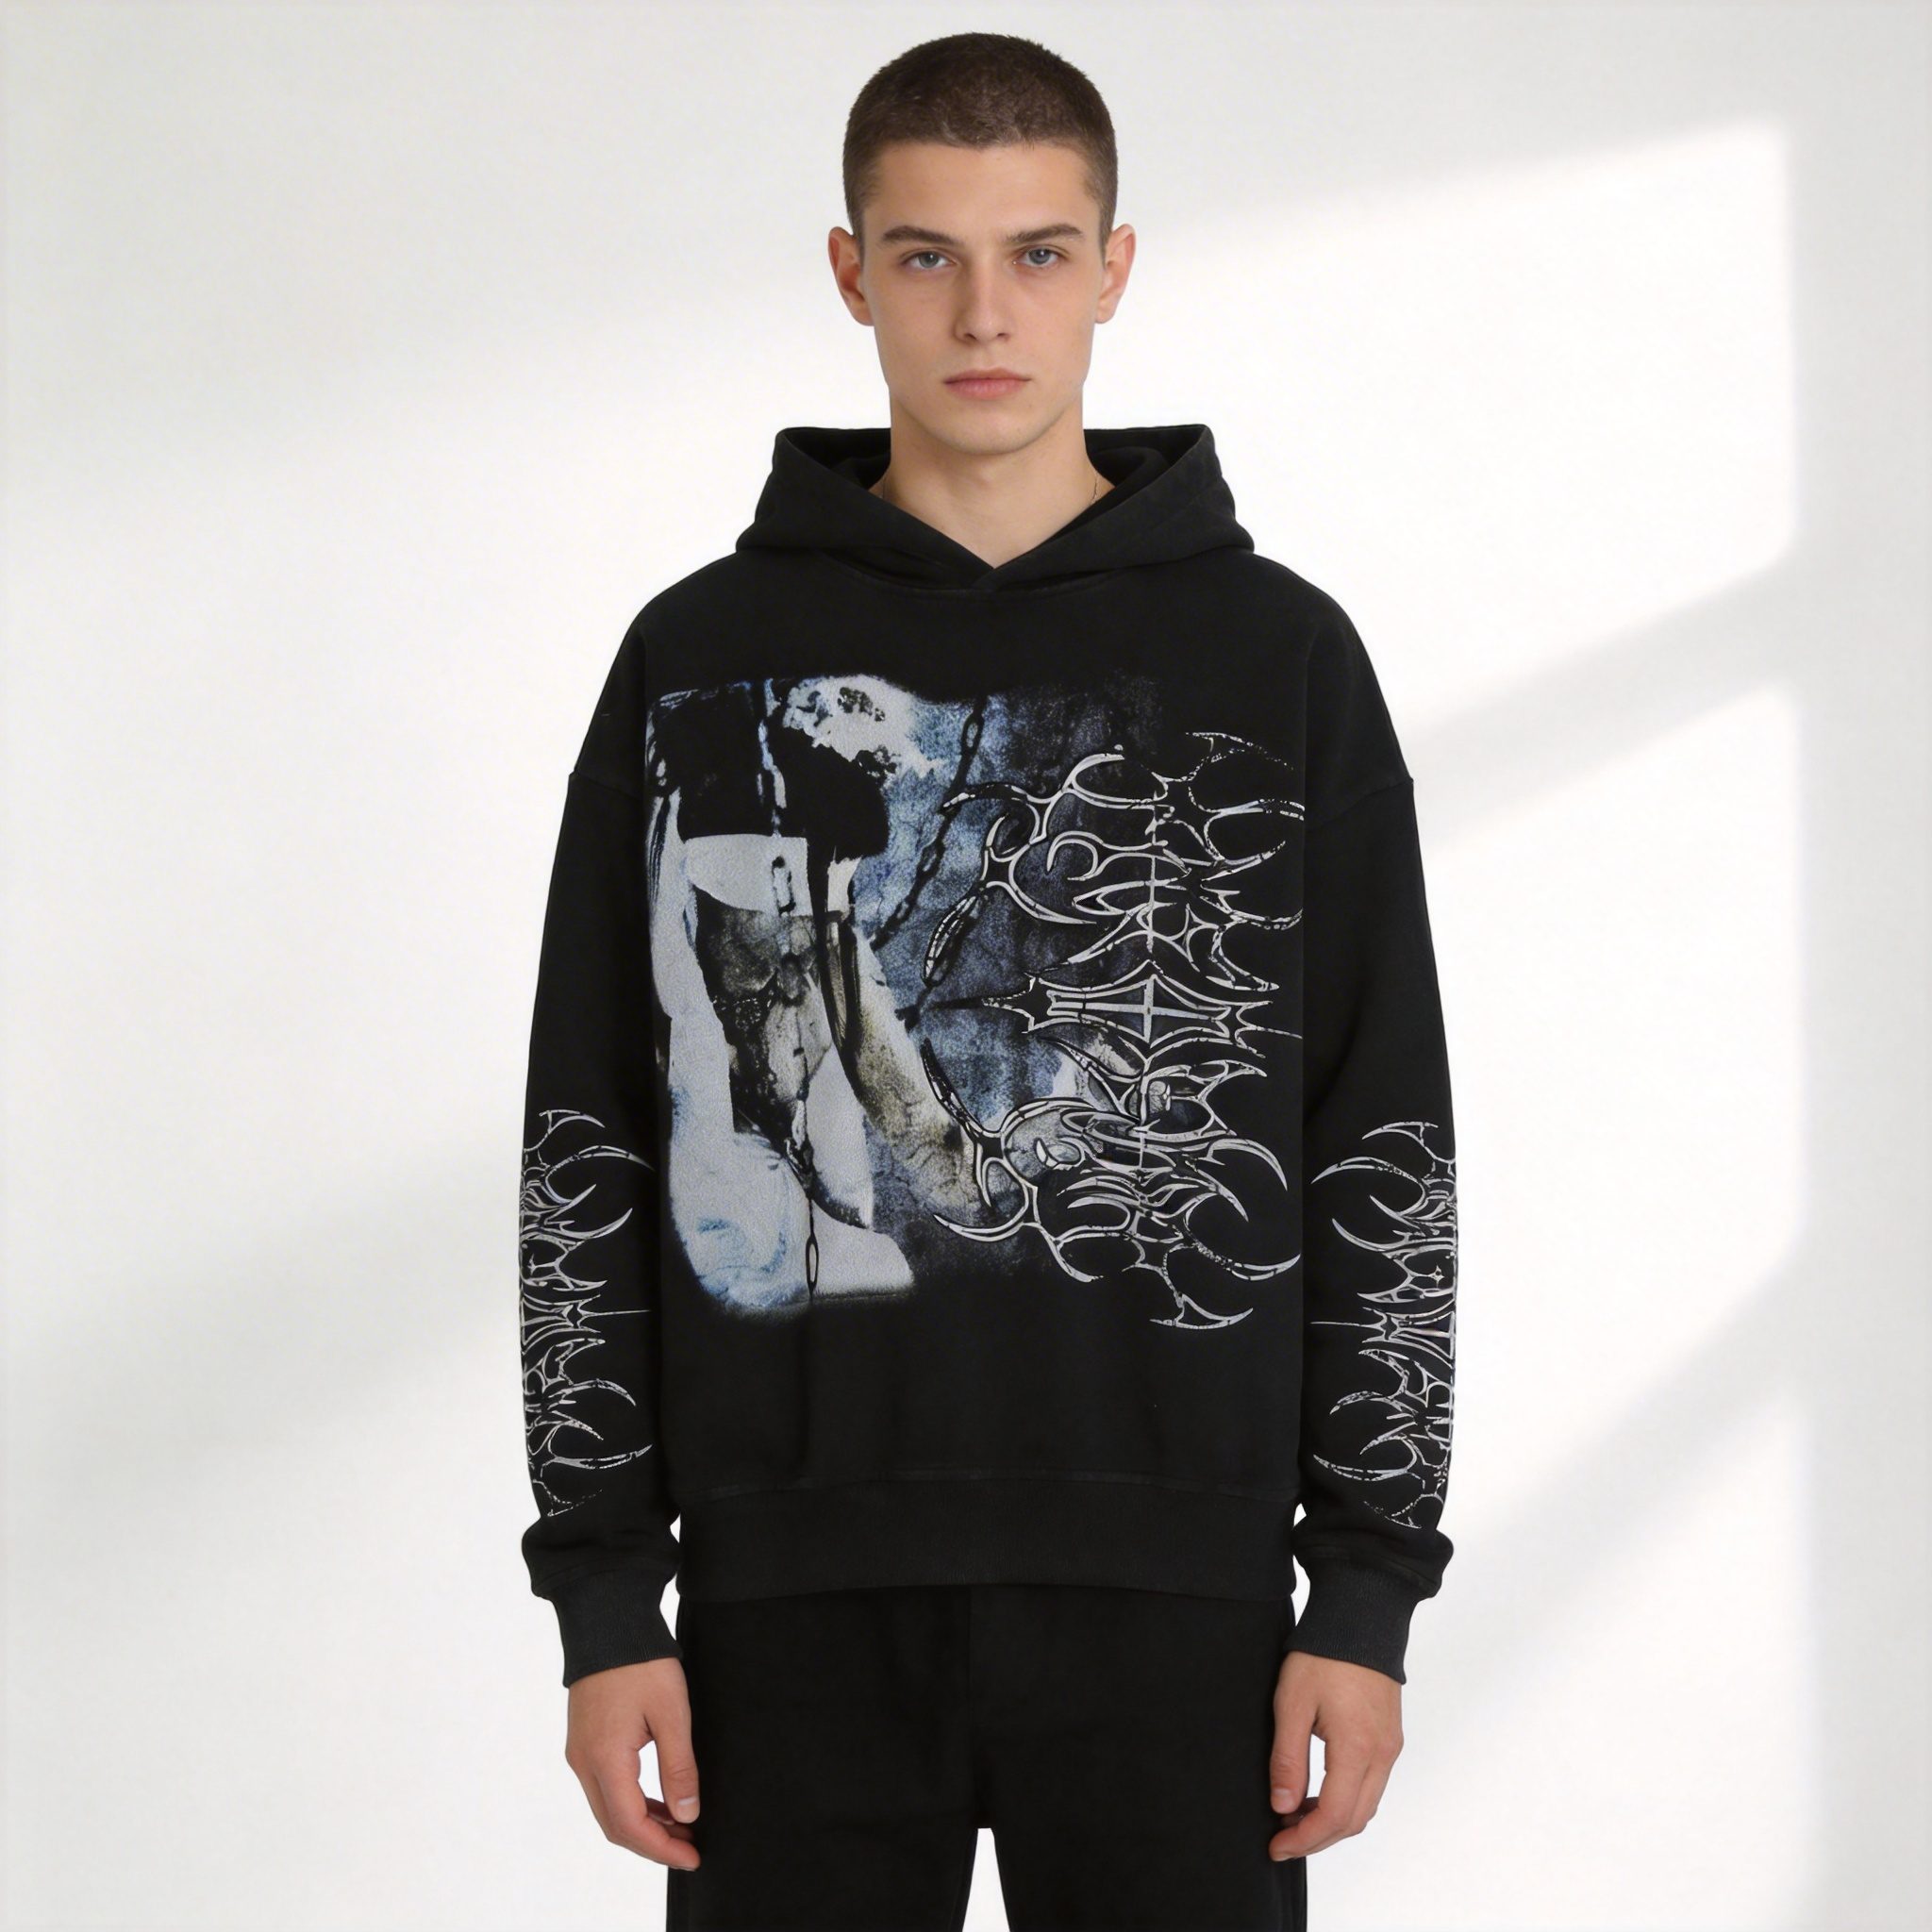
Mistake 4: Skipping the Digital Mockup Review
Ordering without reviewing the mockup can result in designs positioned incorrectly, colors appearing different than expected (RGB to CMYK conversion shifts hues), or text appearing upside-down. Always request a mockup before production. Printify and similar services allow unlimited mockup revisions before you commit.
Mistake 5: Underestimating Shipping & Production Time
Ordering one week before an event and selecting standard shipping (7–10 days) guarantees late delivery. Calculate backward from your deadline: standard production takes 7–10 days, add 3–7 days for ground shipping. For guaranteed delivery, pay for express production (1–2 days, typically $15–$25 surcharge) and expedited shipping ($30–$50).
Top Platforms for Making Customized T-Shirts Online (2026)
- Printful — 500,000+ active users; 1-shirt no-minimum orders, integrates with Shopify and Etsy, 7-day standard turnaround with tracking.
- CustomInk — 15+ million orders completed; specializes in group orders via MerchShare platform, free design lab with 10,000+ clipart elements, same-day shipping in 12 US metro markets.
- UberPrints — 1,000,000+ customers; no-minimum policy across 200+ apparel styles, HD Digital + Screen Printing options, free shipping on orders over $99.
- RushOrderTees — 1,000,000+ customers; AI logo generator built into design studio, expert support 7 days/week, 1–2 day express turnaround available.
- Canva — 200+ million monthly active users; free drag-and-drop t-shirt design tool, 100,000+ templates, direct-to-print ordering in US, UK, Canada, and Australia.
Step-by-Step Process: How to Design & Order Your Custom T-Shirt
Step 1: Select Your Platform & Create an Account
Choose based on your needs: Printful for e-commerce integration, CustomInk for group orders and fundraisers, UberPrints for design variety and bulk discounts, or Canva for beginner-friendly design tools. Create a free account—most platforms require only email and password. No upfront fees are charged until you place an order.
Step 2: Choose Your Base T-Shirt Style, Color & Size
Browse the platform’s catalog and select your shirt. Most platforms offer 20–50 style variations: unisex, fitted women’s, oversized, long-sleeve, tank, v-neck, etc. Choose colors available in your preferred style. For single orders, most platforms default to one size; for bulk, specify quantities per size (S, M, L, XL, 2XL).
Step 3: Upload or Design Your Graphic
Option A (Upload): If you already have artwork, click “Upload” and select your file (PNG, JPG, or PDF recommended).
Option B (Use Templates): Browse pre-made designs and customize text, colors, and graphics using the platform’s drag-and-drop editor.
Option C (Design from Scratch): Use the platform’s built-in editor or external tools (Canva, Kittl, Adobe Express) to create your design, then export as high-resolution PNG/PDF and upload.
Step 4: Review Your Digital Mockup & Customize Details
The platform generates a digital preview showing your design on the selected shirt. Review: (1) Design placement—centered, left chest, full back; (2) Design size relative to shirt dimensions; (3) Color accuracy after RGB-to-CMYK conversion; (4) Text readability at actual print size. Request a physical sample if available—some platforms offer this for $5–$15.
Step 5: Select Printing Method, Quantity & Shipping, Then Place Order
Choose your printing method: screen printing for bold designs and durability, DTG for photorealistic images, embroidery for premium branding. Confirm quantity and size breakdown. Select shipping speed: Standard (7–10 days, $5–$10), Express (2–3 days, $15–$25), or Overnight (1 day, $30–$50). Review your order total, apply any promo codes, and click “Place Order.”
FAQ
Q1: Can I order just one custom t-shirt online?
Yes. Most modern platforms offer no-minimum orders, meaning you can order a single shirt without penalty. Per-unit costs are higher for single orders ($15–$40) compared to bulk runs of 50+ units at $8–$15, but there’s no MOQ barrier.
Q2: How long does it take to receive my custom t-shirt?
Standard production and shipping typically takes 7–10 business days from order placement to doorstep delivery. Express options (1–2 day production + overnight shipping) are available for $30–$50 extra and guarantee delivery within 3–4 business days total.
Q3: What’s the difference between screen printing and DTG printing?
Screen printing uses silkscreen and ink, creating vibrant, durable designs best for simple logos and bold graphics with 1–4 colors. Designs last 50+ washes without fading. DTG (direct-to-garment) prints photorealistic images directly onto fabric but fades faster—typically 20–30 washes before noticeable degradation.
Q4: Can I use copyrighted images or logos in my custom t-shirt design?
No. Using copyrighted material without permission violates intellectual property law. Most platforms scan uploads for copyright infringement using automated detection systems and will reject your order. Only use original artwork, properly licensed images, or royalty-free assets from platforms like Unsplash or Pexels.
Q5: How should I prepare my artwork for upload?
Export your design as high-resolution PNG or PDF (300 DPI minimum). Ensure your file is at least 1200×1200 pixels for front-chest designs and 2400×3200 pixels for full-back prints. Use CMYK color mode (not RGB) for print accuracy. Vector files (SVG, AI, EPS) are preferred for logos and text-heavy designs because they scale infinitely without quality loss.
Sources
- Printful — Custom T-Shirt Printing & Print-On-Demand — 2026, 500,000+ active users, 7-day standard turnaround
- CustomInk — Design Custom T-Shirts Online — 2026, 15+ million orders completed, MerchShare group ordering platform
- Printify — Custom T-Shirts & Online Printing — 2026, 24/7 support, mobile app for iOS and Android
- UberPrints — No Minimum Custom T-Shirts — 2026, 200+ apparel styles, free shipping over $99
- RushOrderTees — Design T-Shirts with AI Logo Generator — 2026, 1,000,000+ customers, 1-2 day express available
- Canva — T-Shirt Design Maker — 2026, 200+ million monthly active users, 100,000+ templates
Written by Alin Zeng (27 Years of Master Craftsmanship & Pattern Making, Global OEM & Streetwear Customization Excellence, End-to-End Supply Chain & One-Stop Production, High-Efficiency Cost Control (“Quality + Affordability”), Incubating 2,000+ Fashion Brands from Scratch). Last reviewed 2026-06-28.