TL;DR: T-shirt making for beginners involves three main approaches — sewing from scratch, applying custom prints, or designing graphics for production — each requiring different equipment and skill levels.
Bottom line: Perfect for hobbyists testing creative ideas, small business starters launching custom apparel lines, and anyone wanting to control fit, design, and quality without relying on mass-market options.
Last updated: 2026-06-27, based on 27 years of apparel manufacturing experience and analysis of current beginner resources.
Key Takeaways
- Sewing from scratch requires a $200–$800 machine investment but delivers complete creative control over fit, fabric, and construction quality.
- Heat transfer printing costs under $100 to start and produces wearable results in 10 minutes, making it the fastest entry point for beginners.
- Five common mistakes — wrong pattern sizing, poor fabric weight selection, skipped seam finishing, misaligned prints, and no pre-wash testing — account for 80% of beginner failures.
- Professional neckline binding and twin-needle hemming separate homemade shirts from commercial-quality garments in both durability and appearance.
- Print-on-demand services eliminate manufacturing complexity entirely, letting design-focused beginners test concepts with zero inventory risk.
What Is T-Shirt Making for Beginners?
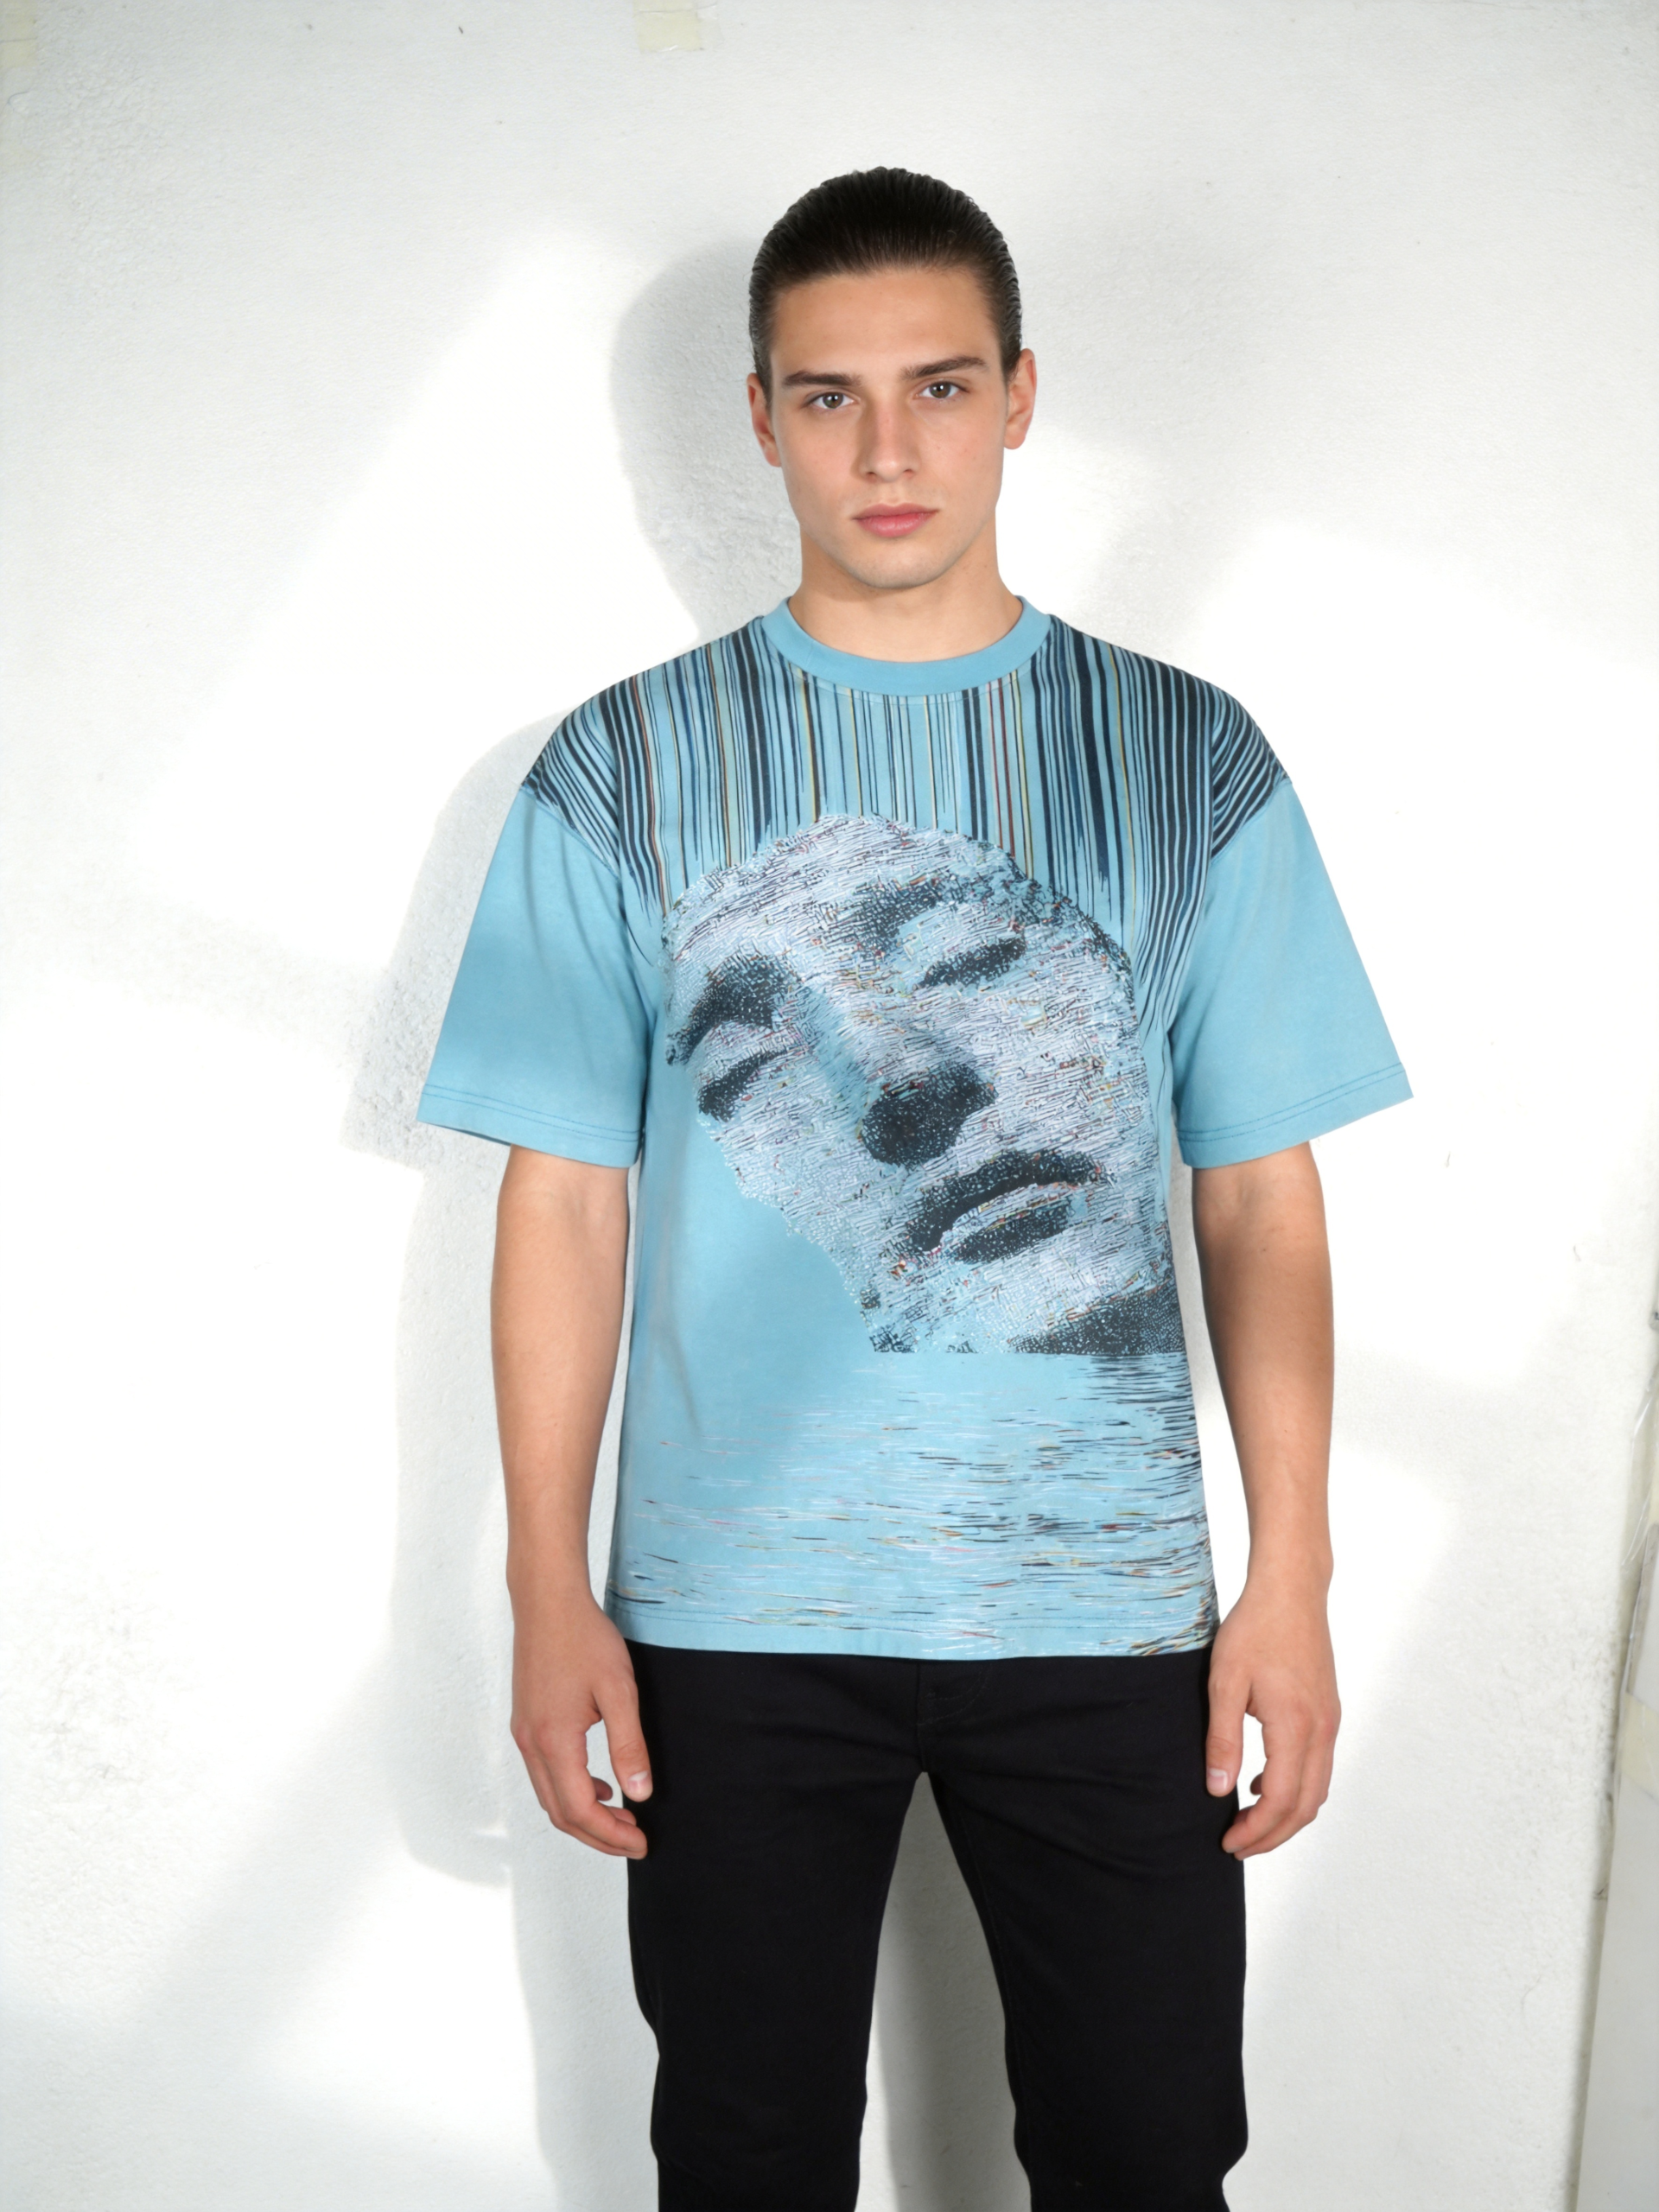
T-shirt making for beginners combines pattern creation, fabric selection, garment construction, and surface decoration into accessible projects for newcomers with varying skill levels and equipment access.
Since 2020, beginners have accessed free online patterns, video tutorials, commercial templates, and affordable home equipment that have made apparel creation accessible to anyone. At ZORWILD, we’ve watched 2,000+ fashion brands start with basic sewing skills before scaling to professional production — the fundamentals remain identical whether you’re making one shirt or 1,000.
Three core production methods exist: sewing (cutting fabric and assembling garments), printing (applying graphics to blank shirts), and design (creating artwork for outsourced production). Choose sewing if you want custom sizing, unique fabric choices, or enjoy the construction process. Pick printing if speed matters more than fabric selection. Select design-only if you’re testing concepts before committing to inventory or equipment purchases.
DIY T-Shirt Methods: Sewing vs. Printing vs. Design
| Method | Equipment Cost | Time Per Shirt | Skill Barrier | Best For |
|---|---|---|---|---|
| Sewing from Scratch | $200–$800 (machine) | 2–4 hours | Medium–High | Hobbyists, custom fit, learning |
| Screen Printing | $300–$1,500 | 15–30 min/shirt | Medium | Bulk orders, bold graphics |
| Heat Transfer Printing | $50–$300 | 5–10 min/shirt | Low | Small batches, detailed designs |
| DTG (Direct-to-Garment) | $2,000–$5,000 | 10–15 min/shirt | Low–Medium | Photo-realistic designs, variety |
| Print-on-Demand | $0 (outsourced) | Design only | Low | Zero inventory, testing designs |
Sewing from scratch demands pattern knowledge, fabric handling skills, and a reliable machine but rewards you with garments that fit your exact measurements. Screen printing produces the most durable graphics (100+ washes) and works brilliantly for bold, limited-color designs. Heat transfer printing sits at the opposite end: minimal equipment, fast results, but graphics last only 30–50 washes. DTG printing enables photorealistic artwork without screens but requires $2,000+ machines that few beginners can justify.
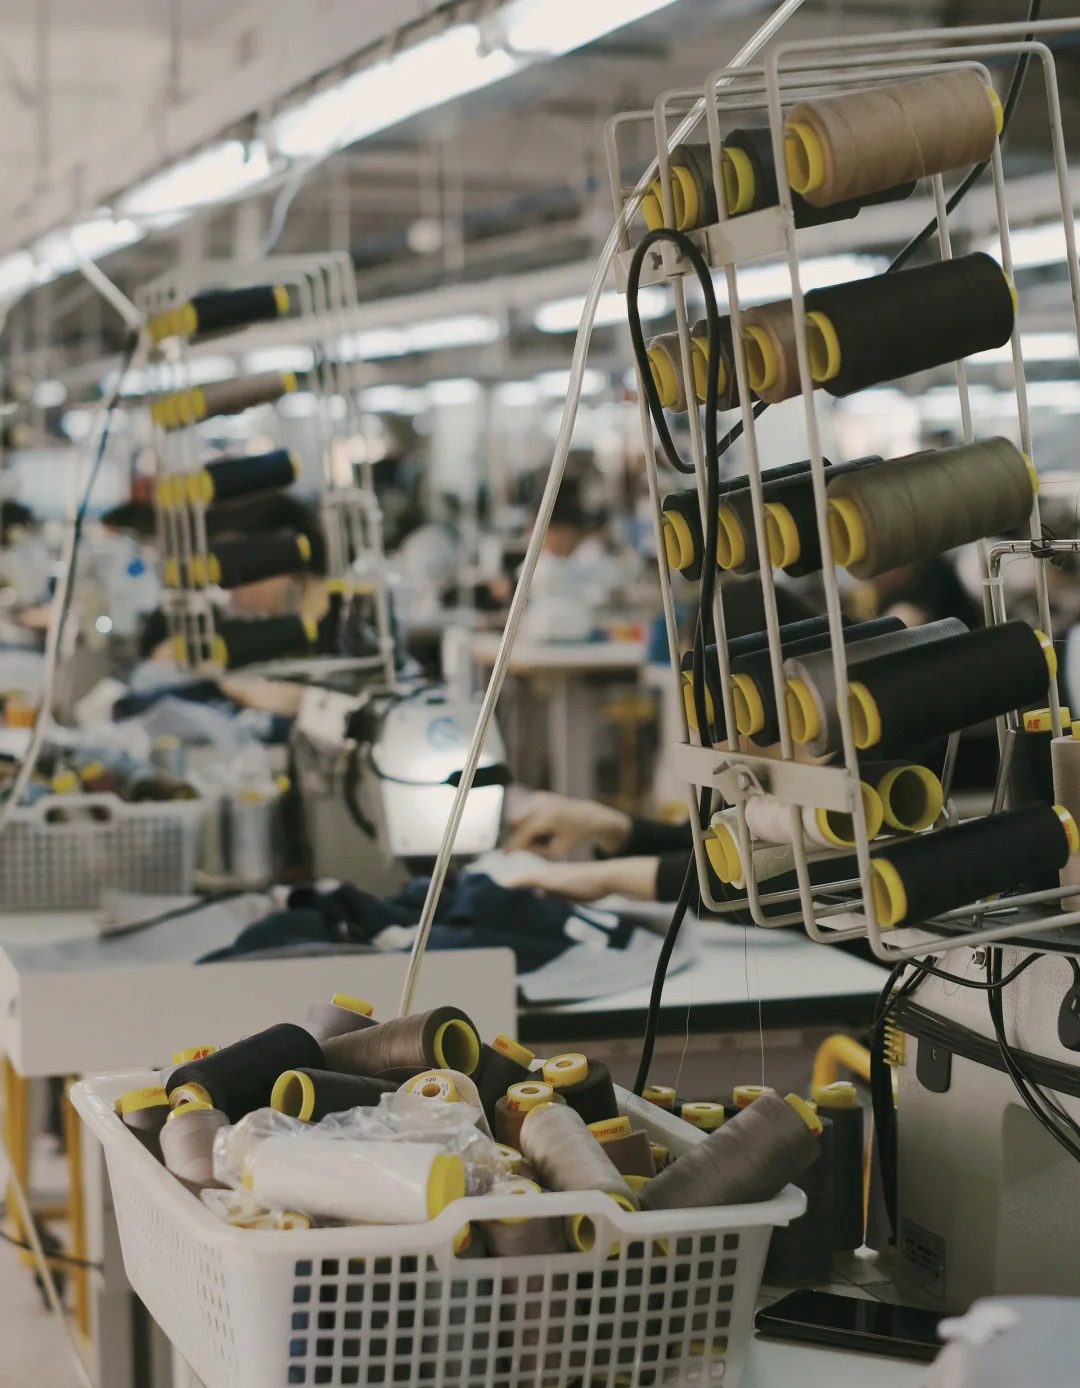
Print-on-demand services like Printful or Printify eliminate equipment costs entirely. You upload designs, they handle production and shipping, and you pay only per order. When you’re ready to scale beyond print-on-demand, Custom T-Shirts offer the professional quality and control that growing brands need.
5 Common Beginner T-Shirt Mistakes to Avoid
Mistake 1: Ignoring Pattern Fit and Grading
Using patterns without adjusting for body measurements creates ill-fitting garments that bunch at shoulders or pull across the chest. Always trace your favorite t-shirt or use graded patterns scaled to your size. Test fit on scrap fabric first — wasted muslin costs $3 versus $15 for ruined finished pieces.
Mistake 2: Choosing Wrong Fabric Weight
Lightweight jersey (3–4 oz) works for summer tees; heavyweight (6+ oz) suits oversized streetwear. Mixing weights with patterns designed for specific fabric creates puckering, stretching, and poor drape. Read pattern recommendations and buy fabric swatches before committing to bulk yardage.

Mistake 3: Skipping Seam Finishing
Raw seams fray, shrink unevenly, and look unprofessional after the first wash. Use serger finishing, French seams, or binding on necklines and armholes. This extra 10 minutes per shirt dramatically improves durability and appearance — the difference between a garment that survives 5 washes versus 50.
Mistake 4: Misaligning Print or Embroidery
Off-center graphics ruin otherwise perfect shirts and can’t be fixed without starting over. Use placement guides, measure twice, and test on scrap garments. For screen printing, invest in a $15 alignment jig; for heat transfer, mark center points with tailor’s chalk.
Mistake 5: Skipping Pre-Wash and Quality Inspection
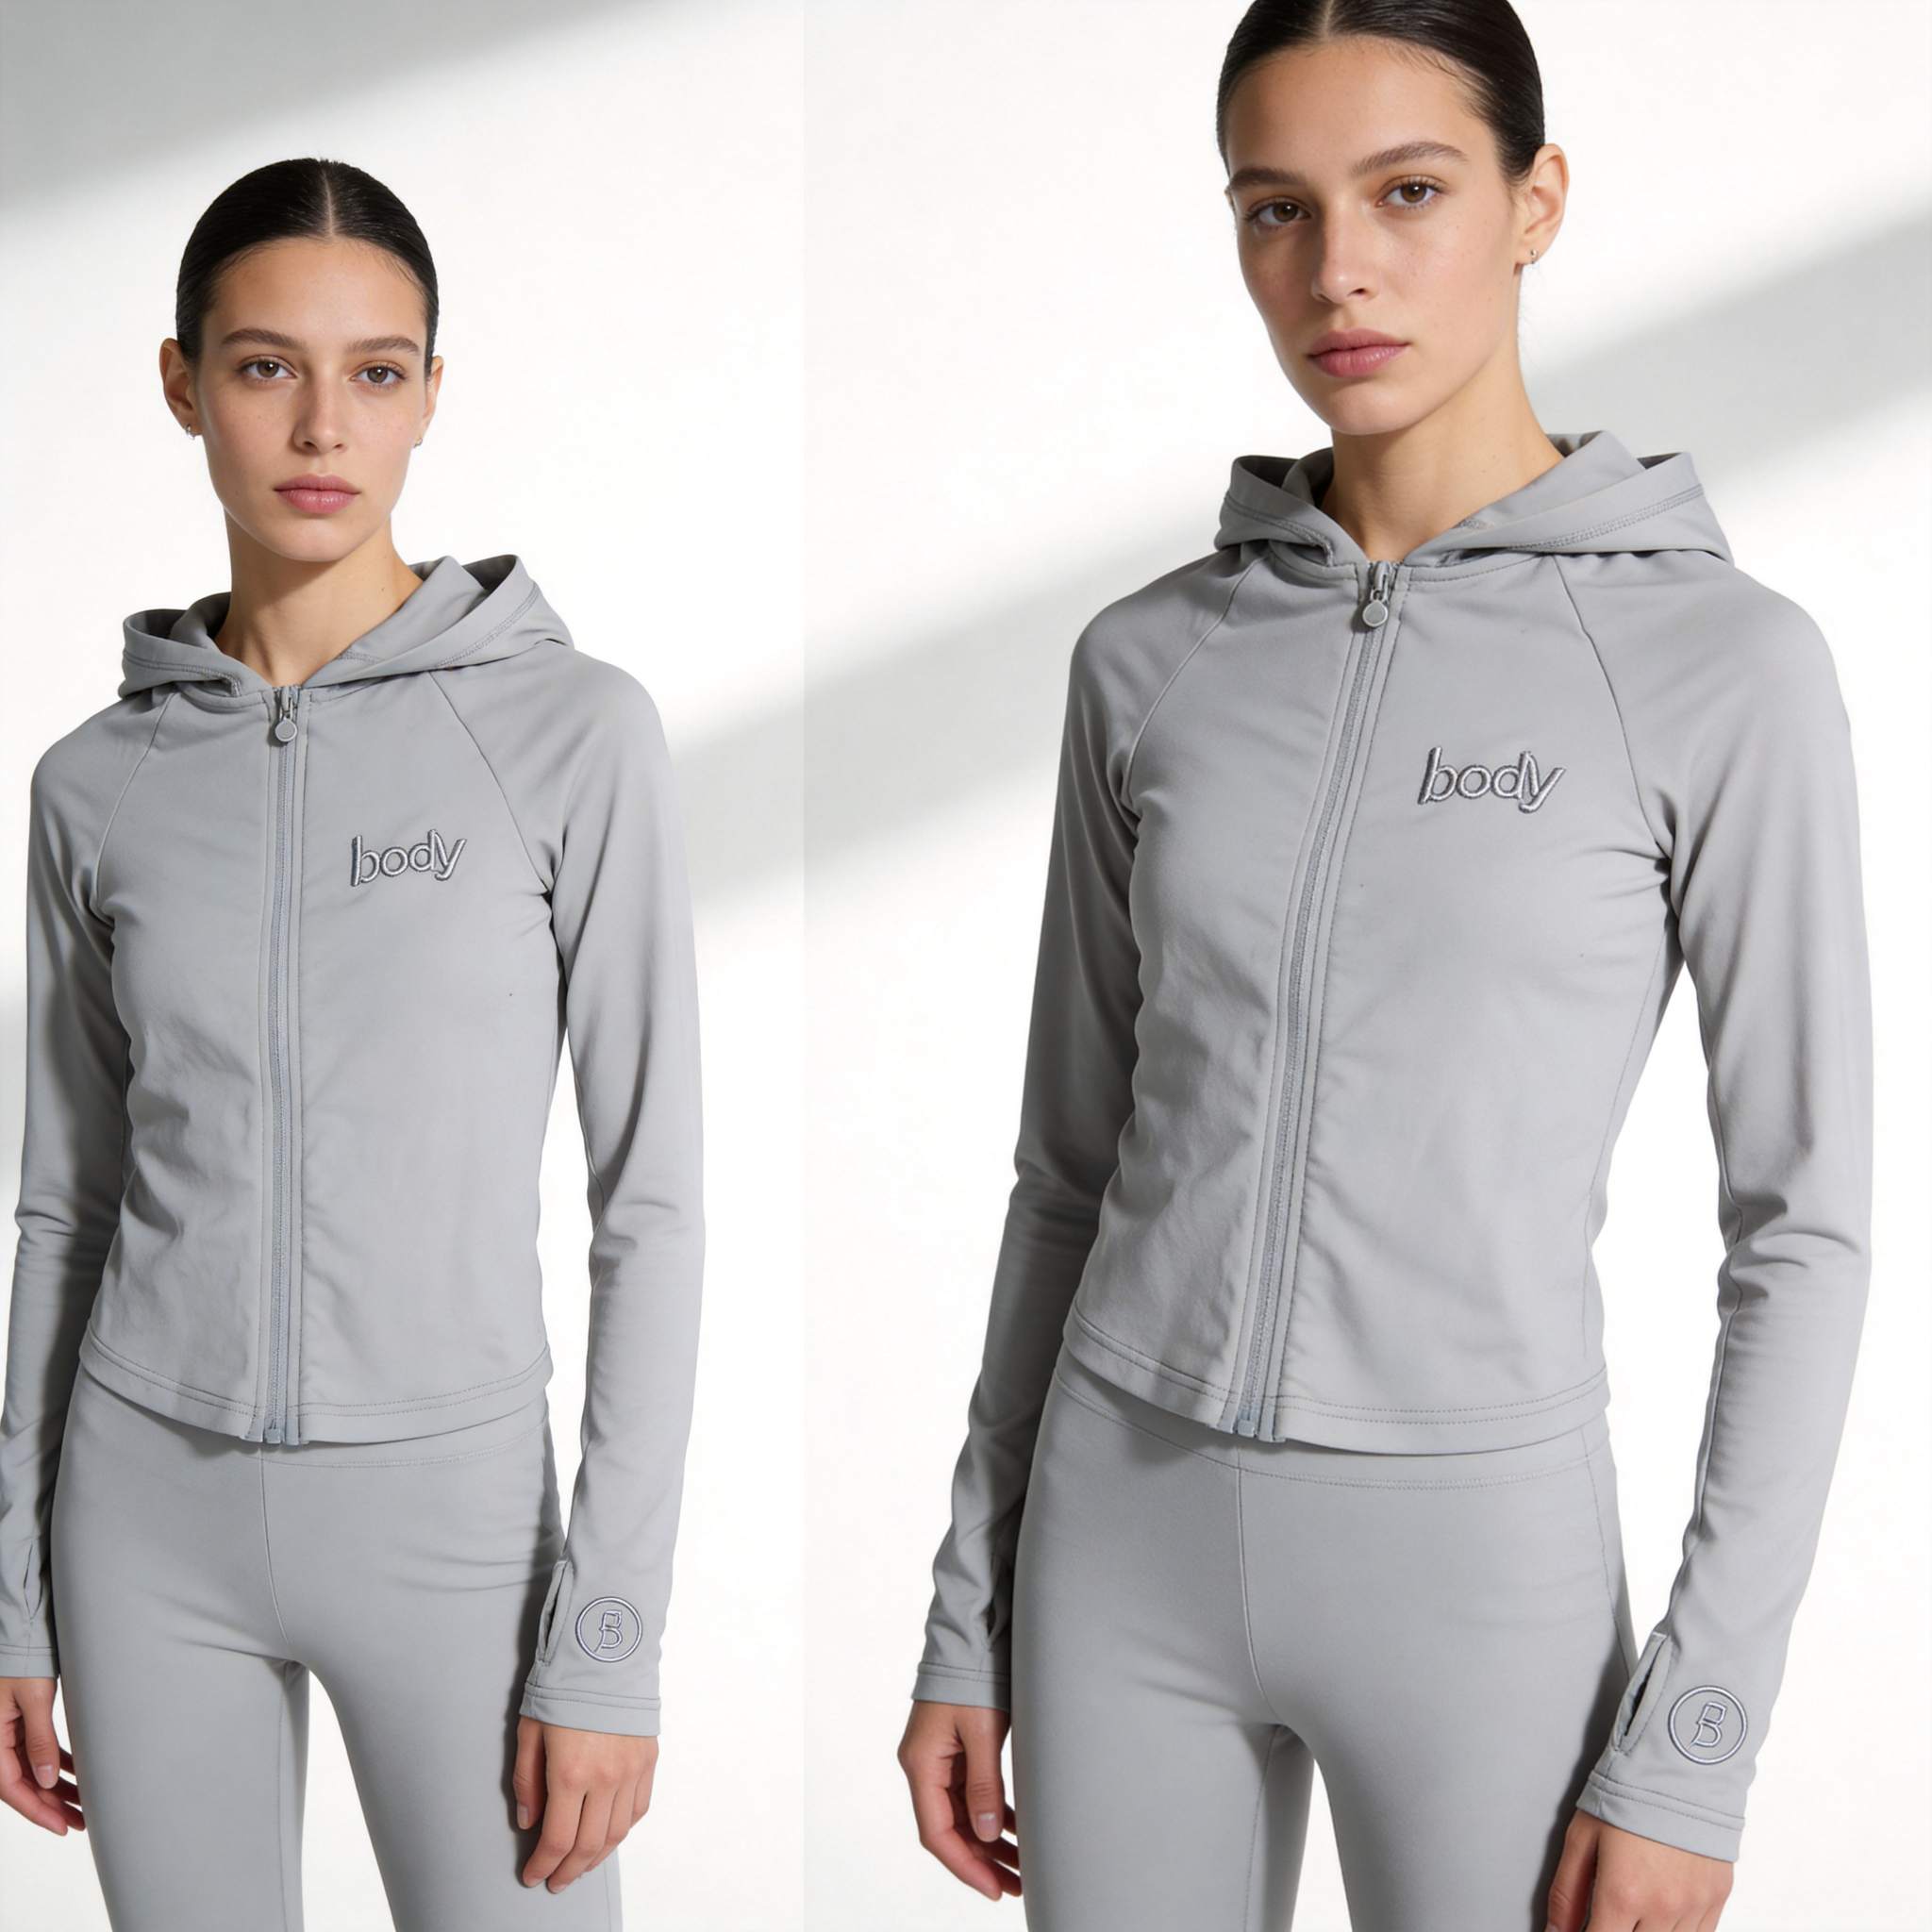
Finished t-shirts shrink differently depending on fabric content and wash method. Pre-wash finished garments in your intended care temperature, then inspect for loose threads, print cracks, or seam issues before gifting or selling.
T-Shirt Printing Methods Explained for Beginners
Heat transfer remains the easiest entry point: print your design onto transfer paper using a standard inkjet printer, cut it out, position on the shirt, and press with a household iron or heat press for 15–30 seconds. Results last 30–50 washes when applied correctly.
Screen printing demands more skill but delivers superior durability and professional appearance. You create a stencil (screen) for each color, apply ink through the mesh, and cure with heat. Setup takes 30–60 minutes, but once prepared, you can print dozens of shirts in minutes. This method suits bold graphics with 1–3 colors — think band merch, event shirts, or streetwear logos. At ZORWILD, we’ve perfected screen printing over 27 years, producing millions of shirts that survive 100+ wash cycles without cracking or fading.
DTG printing skips screens entirely, applying ink directly to fabric like an inkjet printer. This enables complex artwork, photographs, and unlimited colors without setup time. The catch? Machines cost $2,000–$5,000, and per-shirt ink costs run $2–$4. Sublimation works only on polyester fabrics, using heat to turn solid dye into gas that bonds with synthetic fibers, creating vibrant, permanent prints ideal for activewear.
Beginners should start with heat transfer to understand garment handling and print positioning, then graduate to screen printing or DTG as confidence and order volume grow.
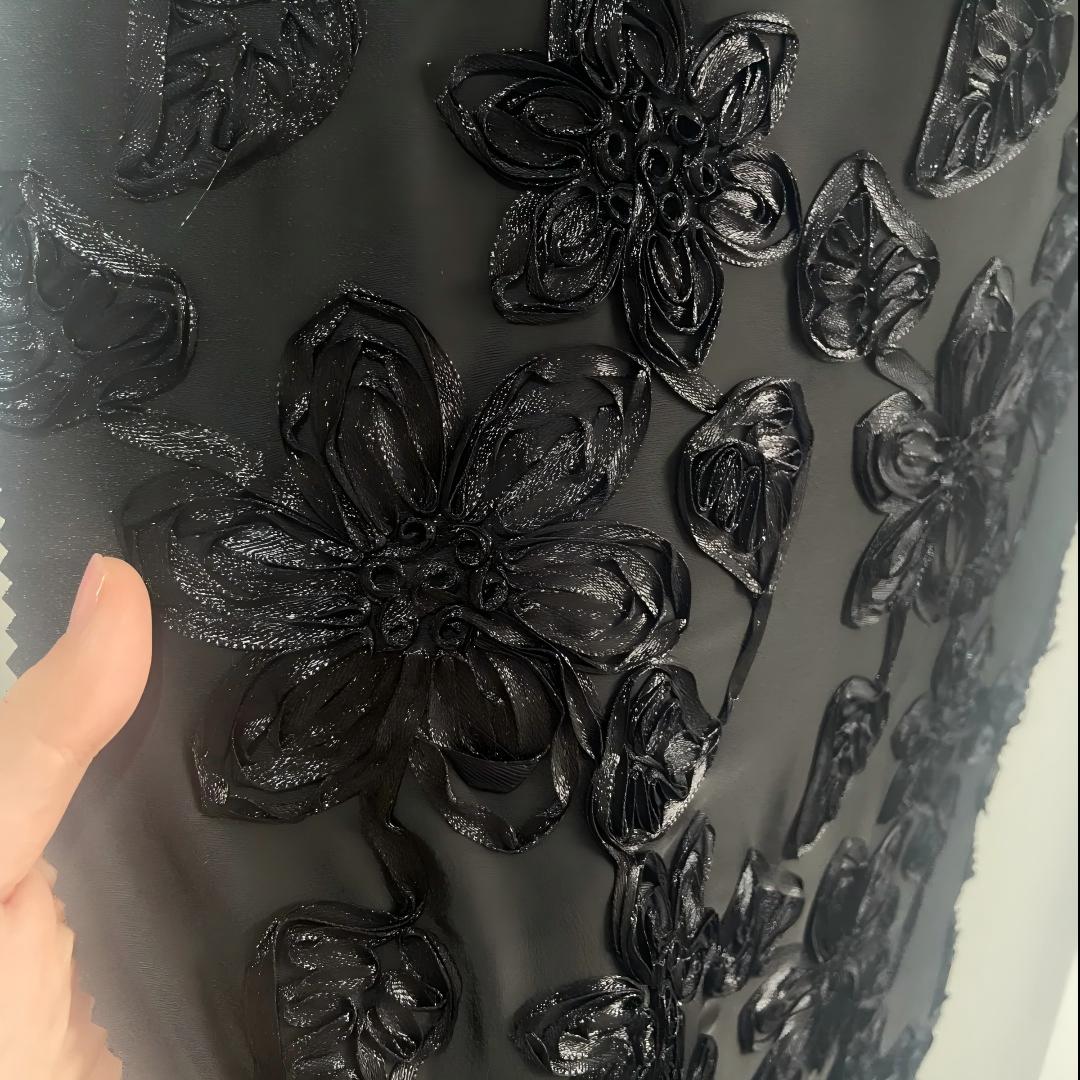
Essential Sewing Techniques for T-Shirt Construction
Straight Seams with Proper Tension — Set your sewing machine to a 1/4-inch seam allowance and medium tension (usually 4–5 on most machines). Consistent seaming is the foundation of all garment construction.
Neckline Binding for Professional Finish — Cut a 1-inch-wide binding strip from jersey fabric, press it in half lengthwise with an iron, and attach with a 1/4-inch seam allowance around the neckline. Fold the binding to the inside and topstitch close to the edge. This creates a clean, durable neckline that resists fraying and stretching — the hallmark of commercial-quality garments.
Sleeve and Armhole Attachment — Pin sleeves to armholes using a 1/2-inch seam allowance, distributing fullness evenly around the curve. Sew with the garment body facing you so you can control puckering and ensure smooth attachment.
Hem Finishing (Twin-Needle) — A twin needle creates the characteristic t-shirt hem: fold the bottom edge 1/2 inch, press flat, and sew with a twin needle for a professional lock-stitch finish that stretches without breaking. Single-needle hems break when stretched; twin-needle hems flex with the fabric.
Topstitching for Durability and Style — Topstitching (visible stitching on the outside) strengthens seams and adds visual interest. Use coordinating or contrasting thread, maintain 1/4-inch distance from seams, and sew slowly for straight lines.
FAQ
Q1: Can I make a t-shirt without a sewing machine?
Yes, but it’s labor-intensive and impractical for multiple garments. Hand-sewing requires strong needles, waxed thread, and patience — expect 6–8 hours per shirt. Most beginners find a basic machine ($150–$300) more practical for learning proper technique and achieving consistent results.
Q2: What fabric weight should beginners use?
Start with 4–5 oz jersey knit or cotton — medium weight, forgiving, and readily available at fabric stores for $8–$12 per yard. Avoid very thin fabrics (prone to stretching) and ultra-heavy fabrics (difficult to sew without industrial machines) until you master fundamentals.
Q3: How do I prevent my printed design from cracking?
Use quality transfer paper designed for your fabric type, apply correct heat (usually 300–350°F for 15–30 seconds), and avoid folding or washing for 24 hours post-printing. Pre-wash garments before printing to prevent shrinkage-related cracking.
Q4: Is it cheaper to make or buy t-shirts?
Homemade costs $8–$15 per shirt (fabric + thread + notions); commercial blank t-shirts cost $5–$20 depending on quality. The value of DIY lies in customization, learning, and small-batch production — not cost savings. For bulk orders above 50 units, outsourcing to manufacturers like ZORWILD becomes more economical, with per-unit costs dropping to $4–$8.
Q5: What’s the easiest printing method for beginners?
Heat transfer printing. It requires only a household iron, transfer paper ($0.50–$1 per sheet), and scissors. Results are immediate, and mistakes are forgiving — simply peel off failed transfers and try again. Screen printing and DTG offer better durability but demand more equipment ($300–$5,000) and skill investment that beginners should delay until mastering basics.
Sources
- The Crafty Gentleman — How to Make a Men’s T-Shirt for Beginners — 2018, comprehensive sewing tutorial
- Printful — How to Make T-Shirt Designs (2026) — 2026, design process and production methods
- Vistaprint — How to Print T-Shirts Step-by-Step — 2026, printing methods comparison
- Instructables — DIY T-Shirt Screen Printing — screen printing techniques for beginners
- Canon CNA — Custom-Printed T-Shirts at Home — iron-on printing guide
Written by Alin Zeng (27 Years of Master Craftsmanship & Pattern Making, Global OEM & Streetwear Customization Excellence, End-to-End Supply Chain & One-Stop Production, High-Efficiency Cost Control (“Quality + Affordability”), Incubating 2,000+ Fashion Brands from Scratch). Last reviewed 2026-06-27.