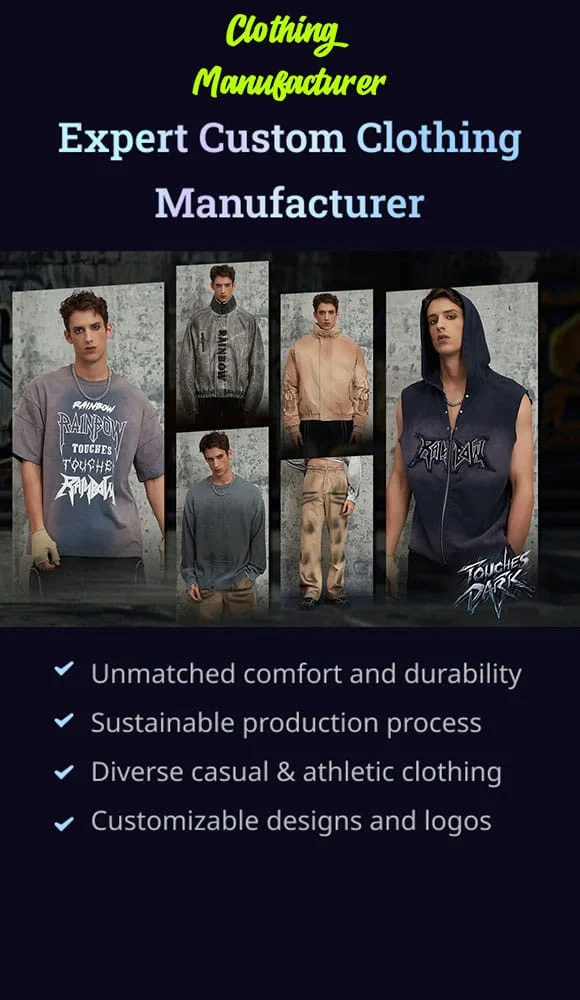
TL;DR: Garment design combines creative vision with technical precision across five steps—inspiration research, technical sketching, 3D visualization, fabric selection, and production-ready patterns.

Bottom line: For fashion brands launching collections, manufacturers needing clear specs, and designers transitioning from concept to production.
Last updated: 2026-06-05, based on 27 years manufacturing experience across 2,000+ global fashion brands and current industry software standards.
Key Takeaways
- 2D technical flats remain the industry standard—manufacturers cut patterns on flat surfaces, not in 3D, making precise vector drawings essential for production accuracy.
- 3D visualization reduces physical sampling costs by 30-50%—tools like CLO 3D and Browzwear accelerate approval cycles while minimizing material waste.
- Most brands produce 2-4 sample rounds before finalizing production specifications, refining fit and construction details with each iteration.
- Fabric selection determines 60% of final garment cost—weight (gsm), stretch recovery, and wash behavior must align with brand positioning and retail price targets.
- Digital pattern grading cuts manual errors by 85%—automated systems ensure measurement consistency across sizes, reducing production defects.
1. Find Inspiration & Research Market Trends
How to design garments is a systematic process that transforms creative concepts into production-ready specifications through research, technical documentation, and iterative refinement.
Garment design begins with inspiration research, not existing clothing. Study trends, mood boards, and design elements to uncover original aesthetic direction. Research market trends, competitor products, and consumer preferences to identify gaps your collection can fill. Build mood boards from diverse sources—nature, art, architecture, cultural movements—rather than copying existing garments.

Identify your target customer, price point, and brand positioning early. A streetwear hoodie for 18-25 year olds demands different design choices than a luxury resort shirt for affluent travelers. Document your design direction in a written concept statement covering aesthetic goals, functional requirements, and manufacturing constraints. Clear concept statements reduce sampling rounds by 30% because designers and manufacturers align on vision from day one.
Our Four-Pillar Design Brief Framework
Pillar 1: Customer Profile—age range, lifestyle, shopping behavior, price sensitivity, and wardrobe needs. A 22-year-old streetwear buyer prioritizes oversized silhouettes and graphic statements; a 40-year-old professional values refined tailoring and versatile neutrals.
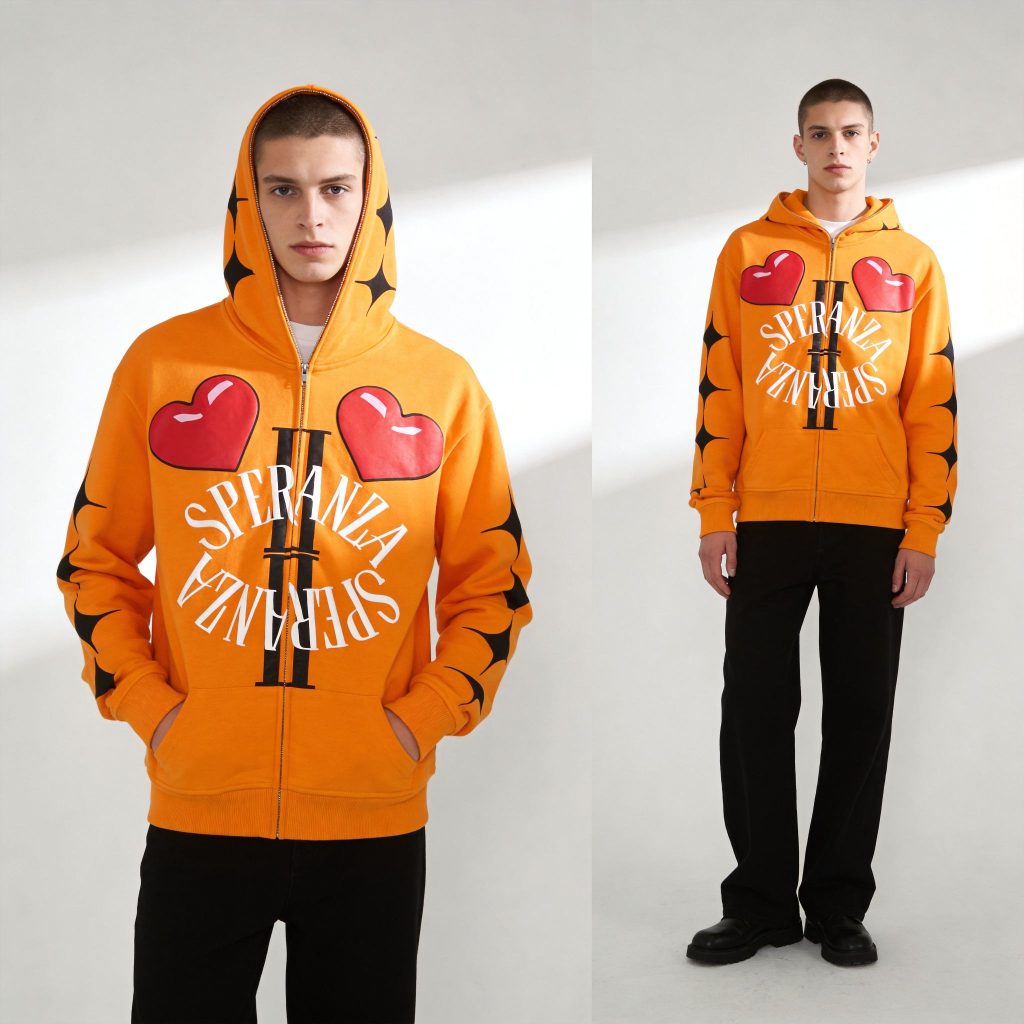
Pillar 2: Market Positioning—where your collection sits relative to competitors. Premium brands justify $80-150 hoodies through heavyweight fabrics (400+ gsm fleece), advanced wash treatments, and superior construction. Budget lines compete at $25-45 using lighter materials and simplified designs.
Pillar 3: Aesthetic Direction—specific visual references, color palettes, silhouette preferences, and design details. “Vintage athletic” translates to retro colorways, chenille embroidery, and relaxed fits. “Technical streetwear” means reflective prints, utility pockets, and performance fabrics.
Pillar 4: Production Constraints—MOQ requirements, budget per unit, lead time flexibility, and manufacturing capabilities. A brand launching with 500-piece minimums can explore custom fabric development; a 50-piece test run requires stock fabrics and standard construction methods.
2. Create Technical Sketches & Spec Sheets

Technical flats and spec sheets are the industry standard for communicating designs to manufacturers—2D accuracy matters more than artistic rendering. Manufacturers cut patterns on flat surfaces, making precise vector drawings essential for production accuracy.
Step 1: Hand-Sketch Initial Design Ideas
Draft rough silhouettes showing key design details, proportions, and construction features. Include front, back, and side views. Add notes on fabric types, colors, embellishments, pocket placement, and seam lines. Spend 30-60 minutes generating 8-12 variations before committing to digital refinement.
Step 2: Create Production-Ready Technical Flats
Use Adobe Illustrator or fashion design software to draw precise 2D flats. Include all seams, darts, pockets, buttons, zipper placements, and construction details. According to Audaces’ 2025 garment design guide, 2D flats serve as the primary specification document throughout the production process, while 3D tools supplement visualization.
Zoom in to draw details at actual scale. A 1-inch button should measure 1 inch in your Illustrator file when printed. Label every design element: “YKK #5 metal zipper, antique brass finish, 22 inches” is actionable; “nice zipper” is not. Export flats as vector PDFs at 300 DPI for manufacturer clarity.
Step 3: Write Detailed Spec Sheets

Document measurements for every size, fabric recommendations, thread colors, zipper types, button specifications, label placement, and care instructions. Include tolerance ranges (typically ±0.5 inch for most garments) and quality standards. A complete spec sheet covers:
- Garment measurements: chest width, body length, sleeve length, shoulder width, hem width, neck opening—across all sizes (S, M, L, XL, XXL).
- Material specifications: fabric type, weight (gsm), composition percentages, supplier name, color codes (Pantone or lab dip references).
- Construction details: stitch types, seam allowances, reinforcement requirements.
- Trims and accessories: labels, hang tags, buttons, zippers, drawcords, elastic specifications.
- Decoration requirements: print methods, placement coordinates, embroidery thread colors, wash effects.
- Packaging instructions: folding method, polybag size, carton quantities, shipping marks.
Incomplete specs cause production delays averaging 7-14 days while clarifying details.
3. Master 3D Visualization & Digital Sampling
3D fashion design software like CLO and Browzwear lets brands visualize final garments before physical production, reducing material waste and speeding approval cycles.
| Aspect | 2D Design Flats | 3D Garment Visualization |
|---|---|---|
| Best Use | Technical specs for manufacturers; pattern-making reference | Client approval; fabric drape visualization; fit assessment |
| Software | Adobe Illustrator, Procreate, PatternSmith | CLO 3D, Browzwear, Style3D |
| Speed | Faster to create; industry standard | Takes longer; requires learning curve |
| Accuracy | Precise measurements; limited realism | Realistic fabric behavior; shows actual silhouette |
| Manufacturer Preference | Required as primary specification document | Supplementary tool; not replacement for flats |
Use 2D flats as your primary manufacturer communication tool. Use 3D software to visualize designs before committing to samples, reducing physical sampling costs by 30-50% and accelerating time-to-market. Style3D’s 2025 sustainability study found that brands using 3D visualization before physical sampling achieved 40-60% waste reduction across development cycles.

The workflow: create 2D flats in Illustrator, import into CLO 3D, apply fabric simulations, adjust fit and proportions, generate photorealistic renders for client approval, then send finalized 2D flats to manufacturers. 3D tools excel at showing how heavyweight fleece drapes differently than lightweight jersey and how print placements interact with garment seams.
4. Select Fabrics & Materials Strategically
Fabric selection determines garment cost, performance, aesthetic, and manufacturability. Fabric accounts for 40-60% of total garment cost, making strategic sourcing essential for margin control.
Understand Fabric Categories & Performance
Match fabric type to garment function: heavyweight cotton fleece (300-450 gsm) for premium hoodies, breathable jersey (150-200 gsm) for t-shirts, stretch nylon blends for activewear, linen blends for resort wear. Consider weight, stretch recovery, shrinkage behavior (typically 3-5% for cotton, 1-2% for polyester blends), and wash durability. Premium brands invest in superior fabrics that justify higher price points—a $120 hoodie using 400 gsm French terry with enzyme wash feels dramatically different from a $35 hoodie using 280 gsm standard fleece.
Test fabric performance before committing to bulk orders. Request wash samples showing shrinkage, color fastness, and pilling resistance after 5-10 wash cycles. Evaluate hand feel—soft, brushed interiors command premium pricing in streetwear; crisp, structured fabrics suit tailored garments.
Source from Reliable Suppliers

Work with established fabric mills and suppliers offering consistent quality, color matching, and lead time reliability. Request fabric swatches, care-wash samples, and shrinkage tests before committing to bulk orders. Fabric lead times range from 7-21 days for stock materials to 30-45 days for custom developments.
Balance Cost, Quality & Sustainability
Set fabric budget based on retail price target and desired margin. A garment retailing at $80 typically allocates $12-20 for fabric (15-25% of wholesale cost). Explore eco-friendly options—organic cotton, recycled polyester, Tencel, bamboo blends—if brand positioning demands sustainability. Sustainable fabrics often carry 15-30% cost premiums but enable marketing differentiation.
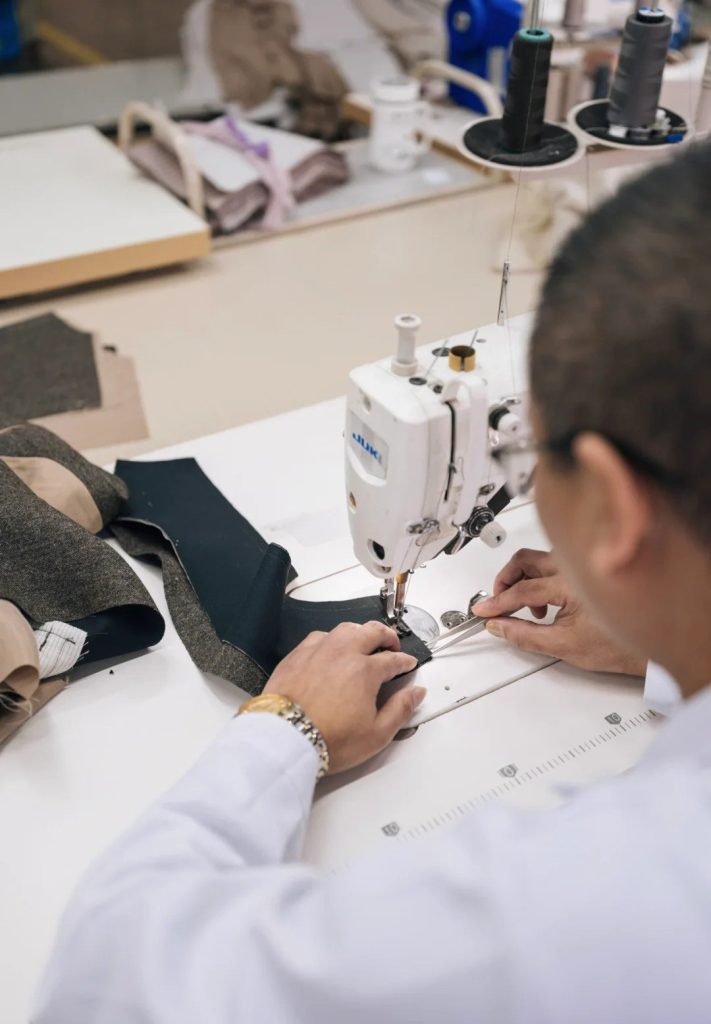
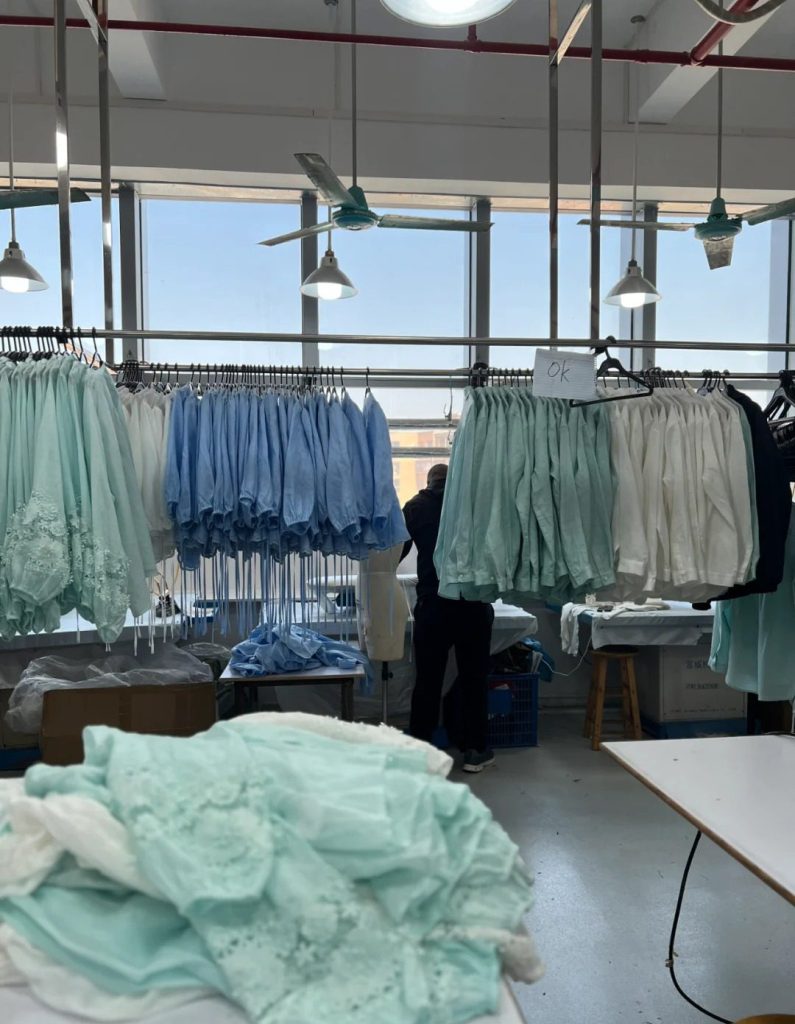
5. Develop Production-Ready Patterns & Samples
Professional garment design requires iterative sampling, fit testing, and pattern refinement—most brands produce 2-4 samples before finalizing production specifications. Each sample round reveals construction issues, fit inconsistencies, or design adjustments needed before bulk production.
- 2-4 sample rounds — Industry standard for design approval before bulk production, with each iteration refining measurements, construction details, and decoration placement.
- ±0.5 inch tolerance — Typical measurement variance allowed in production-grade garments.
- 3-5 days per sample — Average turnaround for professional sample creation including pattern grading and construction.
- 40-60% waste reduction — Achieved by using 3D visualization before physical sampling.
- 85% error reduction — Digital pattern systems reduce manual grading errors compared to hand-drafted sizing.
The sampling sequence: First sample tests overall concept, silhouette, and construction feasibility. Second sample incorporates feedback, refining fit and measurements. Third sample (pre-production) matches final specifications, serving as the reference standard for bulk production.
Pattern grading—scaling designs across sizes—demands precision. Digital grading systems automate proportional adjustments, reducing human error. Fit testing uses live models matching target customer proportions. Measure key points and compare against spec sheet tolerances. Iterative adjustments converge on optimal fit.
FAQ
Q1: What’s the difference between 2D flats and 3D garment visualization?
2D flats are technical drawings showing exact measurements, seams, and construction details—manufacturers use these to cut patterns. 3D visualization shows how fabric drapes and realistic fit—useful for client approval but not required by manufacturers.
Q2: How many samples should I make before production?
Most brands produce 2-4 samples: an initial prototype to test concept, a fit sample to verify measurements across sizes, and a pre-production sample matching final specifications.
Q3: What fabric weight should I choose for hoodies?
Heavyweight fleece (300-450 gsm) creates premium feel, justifying $80-150 retail pricing. Lighter fleece (200-280 gsm) reduces cost, suitable for $35-60 price points. Match weight to brand positioning and target market.
Q4: Should I use Adobe Illustrator or specialized fashion design software?
Adobe Illustrator works for basic 2D flats but lacks fashion-specific features. Specialized software like PatternSmith or CLO 3D includes size grading and fabric simulation, speeding workflow by 40-60%.
Q5: How do I communicate my design to a manufacturer?
Provide: (1) technical flats showing all construction details, (2) detailed spec sheet with measurements for each size, (3) fabric swatches or supplier references, (4) color specifications (Pantone codes or lab dips), (5) sample or reference garment if available, (6) care instructions and labeling requirements.
Q6: What’s the typical timeline from design to first production run?
Approximately 6-12 weeks: 1-2 weeks design and sketching, 2-3 weeks fabric sourcing, 2-3 weeks sampling and revisions, 1-2 weeks final approvals, 2-4 weeks bulk production.
Sources
- Audaces — How to design a garment? The ultimate guide to streamline creation — 2025, industry standard sampling rounds and 2D/3D workflow integration
- Style3D — How to Design Clothes and Create Your Own Fashion Collection — 2025, 40-60% waste reduction through 3D visualization
- FITNYC Museum — Elements and Principles of Fashion Design — 2024, measurement tolerance standards and garment balance principles
- CLO 3D — 3D Fashion Design Software — 2026, 3-5 day sample turnaround and workflow efficiency metrics
- OnBrand PLM — Top 8 Garment Design Software for Fashion Brands — 2026, digital pattern grading error reduction statistics
Written by Alin Zeng (27 Years of Master Craftsmanship & Pattern Making, Global OEM & Streetwear Customization Excellence, End-to-End Supply Chain & One-Stop Production, High-Efficiency Cost Control (“Quality + Affordability”), Incubating 2,000+ Fashion Brands from Scratch). Last reviewed 2026-06-05.