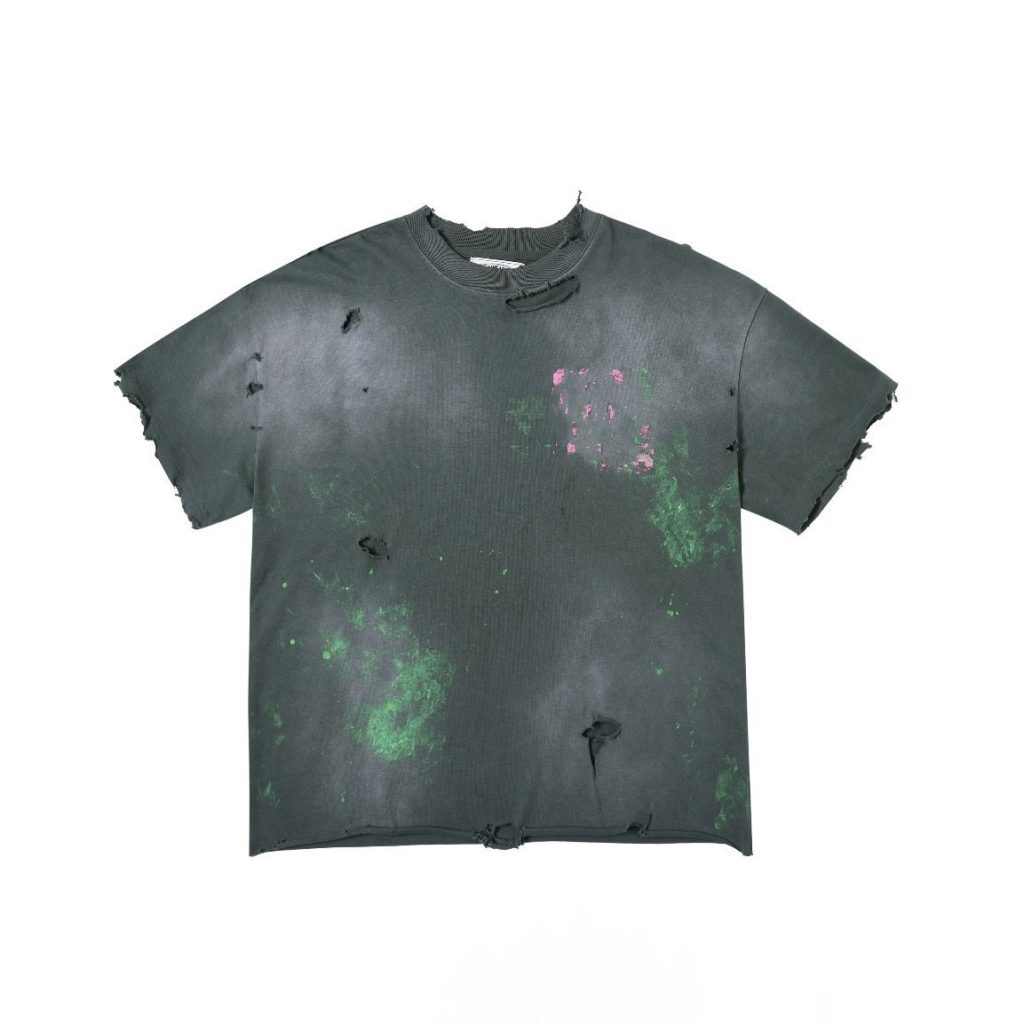
TL;DR: Creating your own clothing designs requires sketching concepts, mastering digital tools (Adobe Illustrator or CLO 3D), developing patterns, producing samples, and partnering with manufacturers for production.
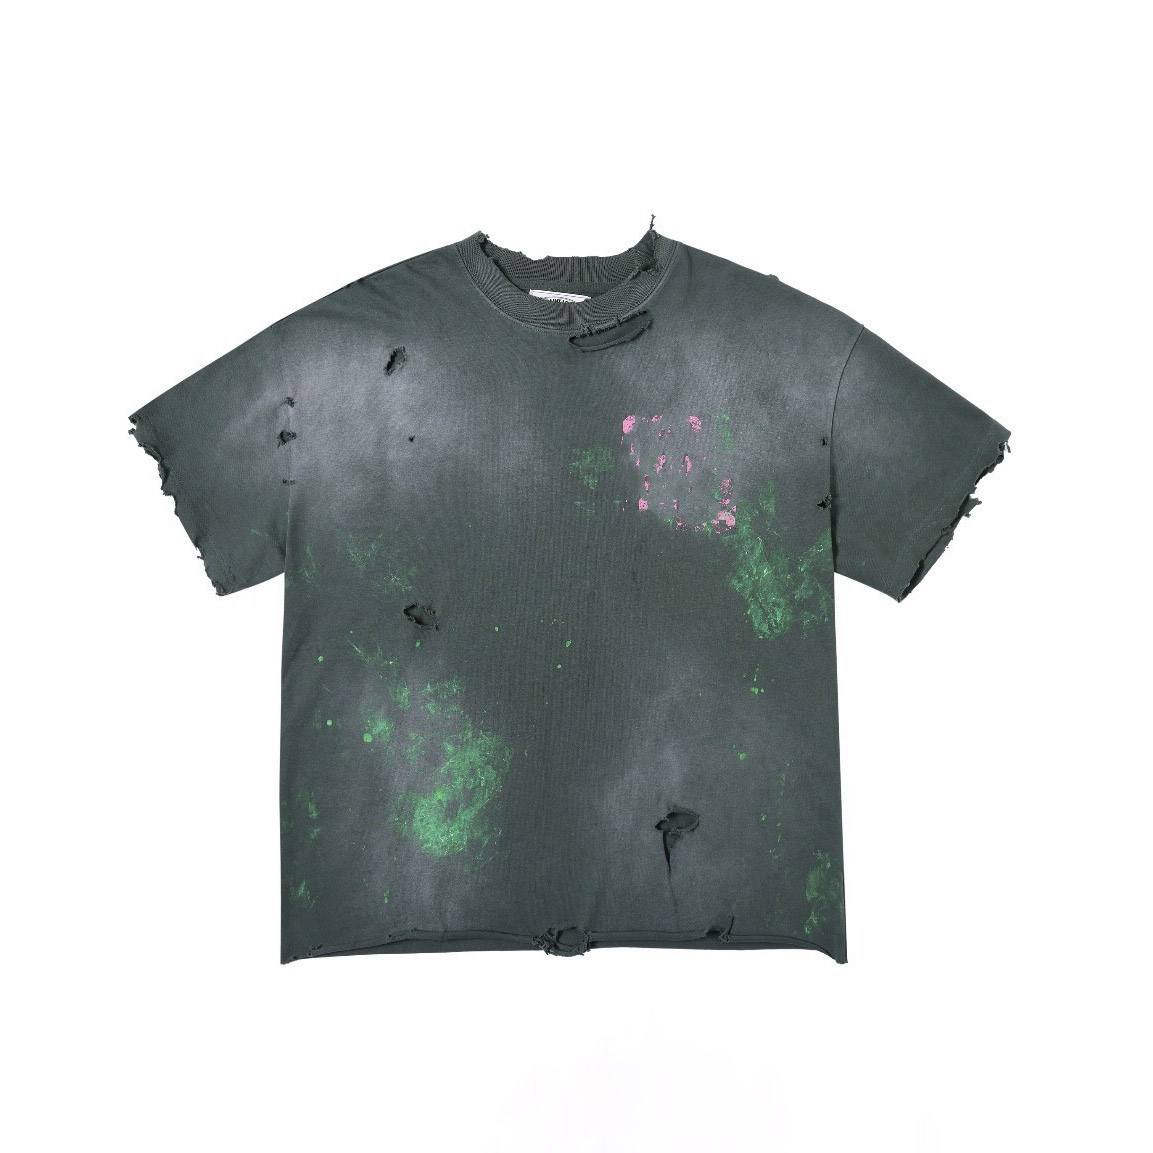
Bottom line: This guide serves startup fashion brands, independent designers, and anyone launching custom apparel—from first sketch to finished garment.
Last updated: 2026-06-27, based on 27 years of apparel manufacturing experience and 2,000+ brand partnerships.
Key Takeaways
- Modern design workflows span three software tiers: conceptual sketching (Procreate, $10–$15), technical 2D design (Adobe Illustrator, $55/month), and 3D visualization (CLO 3D, $500–$3,000/year)—start with sketching apps, graduate to Illustrator as you scale.
- Sample iteration separates amateur designs from production-ready products: expect 2–3 fit samples at $50–$300 each before finalizing patterns, with total timeline of 8–16 weeks from concept to finished garment.
- Print-on-demand services eliminate inventory risk but cost $15–$40 per unit; small-batch manufacturers (MOQ 50–500 pieces) drop per-unit costs to $5–$15 while requiring upfront investment.
- Professional quality control implements three checkpoints: raw material inspection before production, in-line checks during manufacturing, and final product verification before shipment—catching defects early prevents costly rework.
1. Start with Sketching & Creative Inspiration
Build visual research libraries through mood boards, Pinterest collections, and fashion publications. Sketch your concepts using Fashionary sketchbooks or digital apps like Procreate. Focus on silhouette, proportions, and design details without worrying about technical construction.
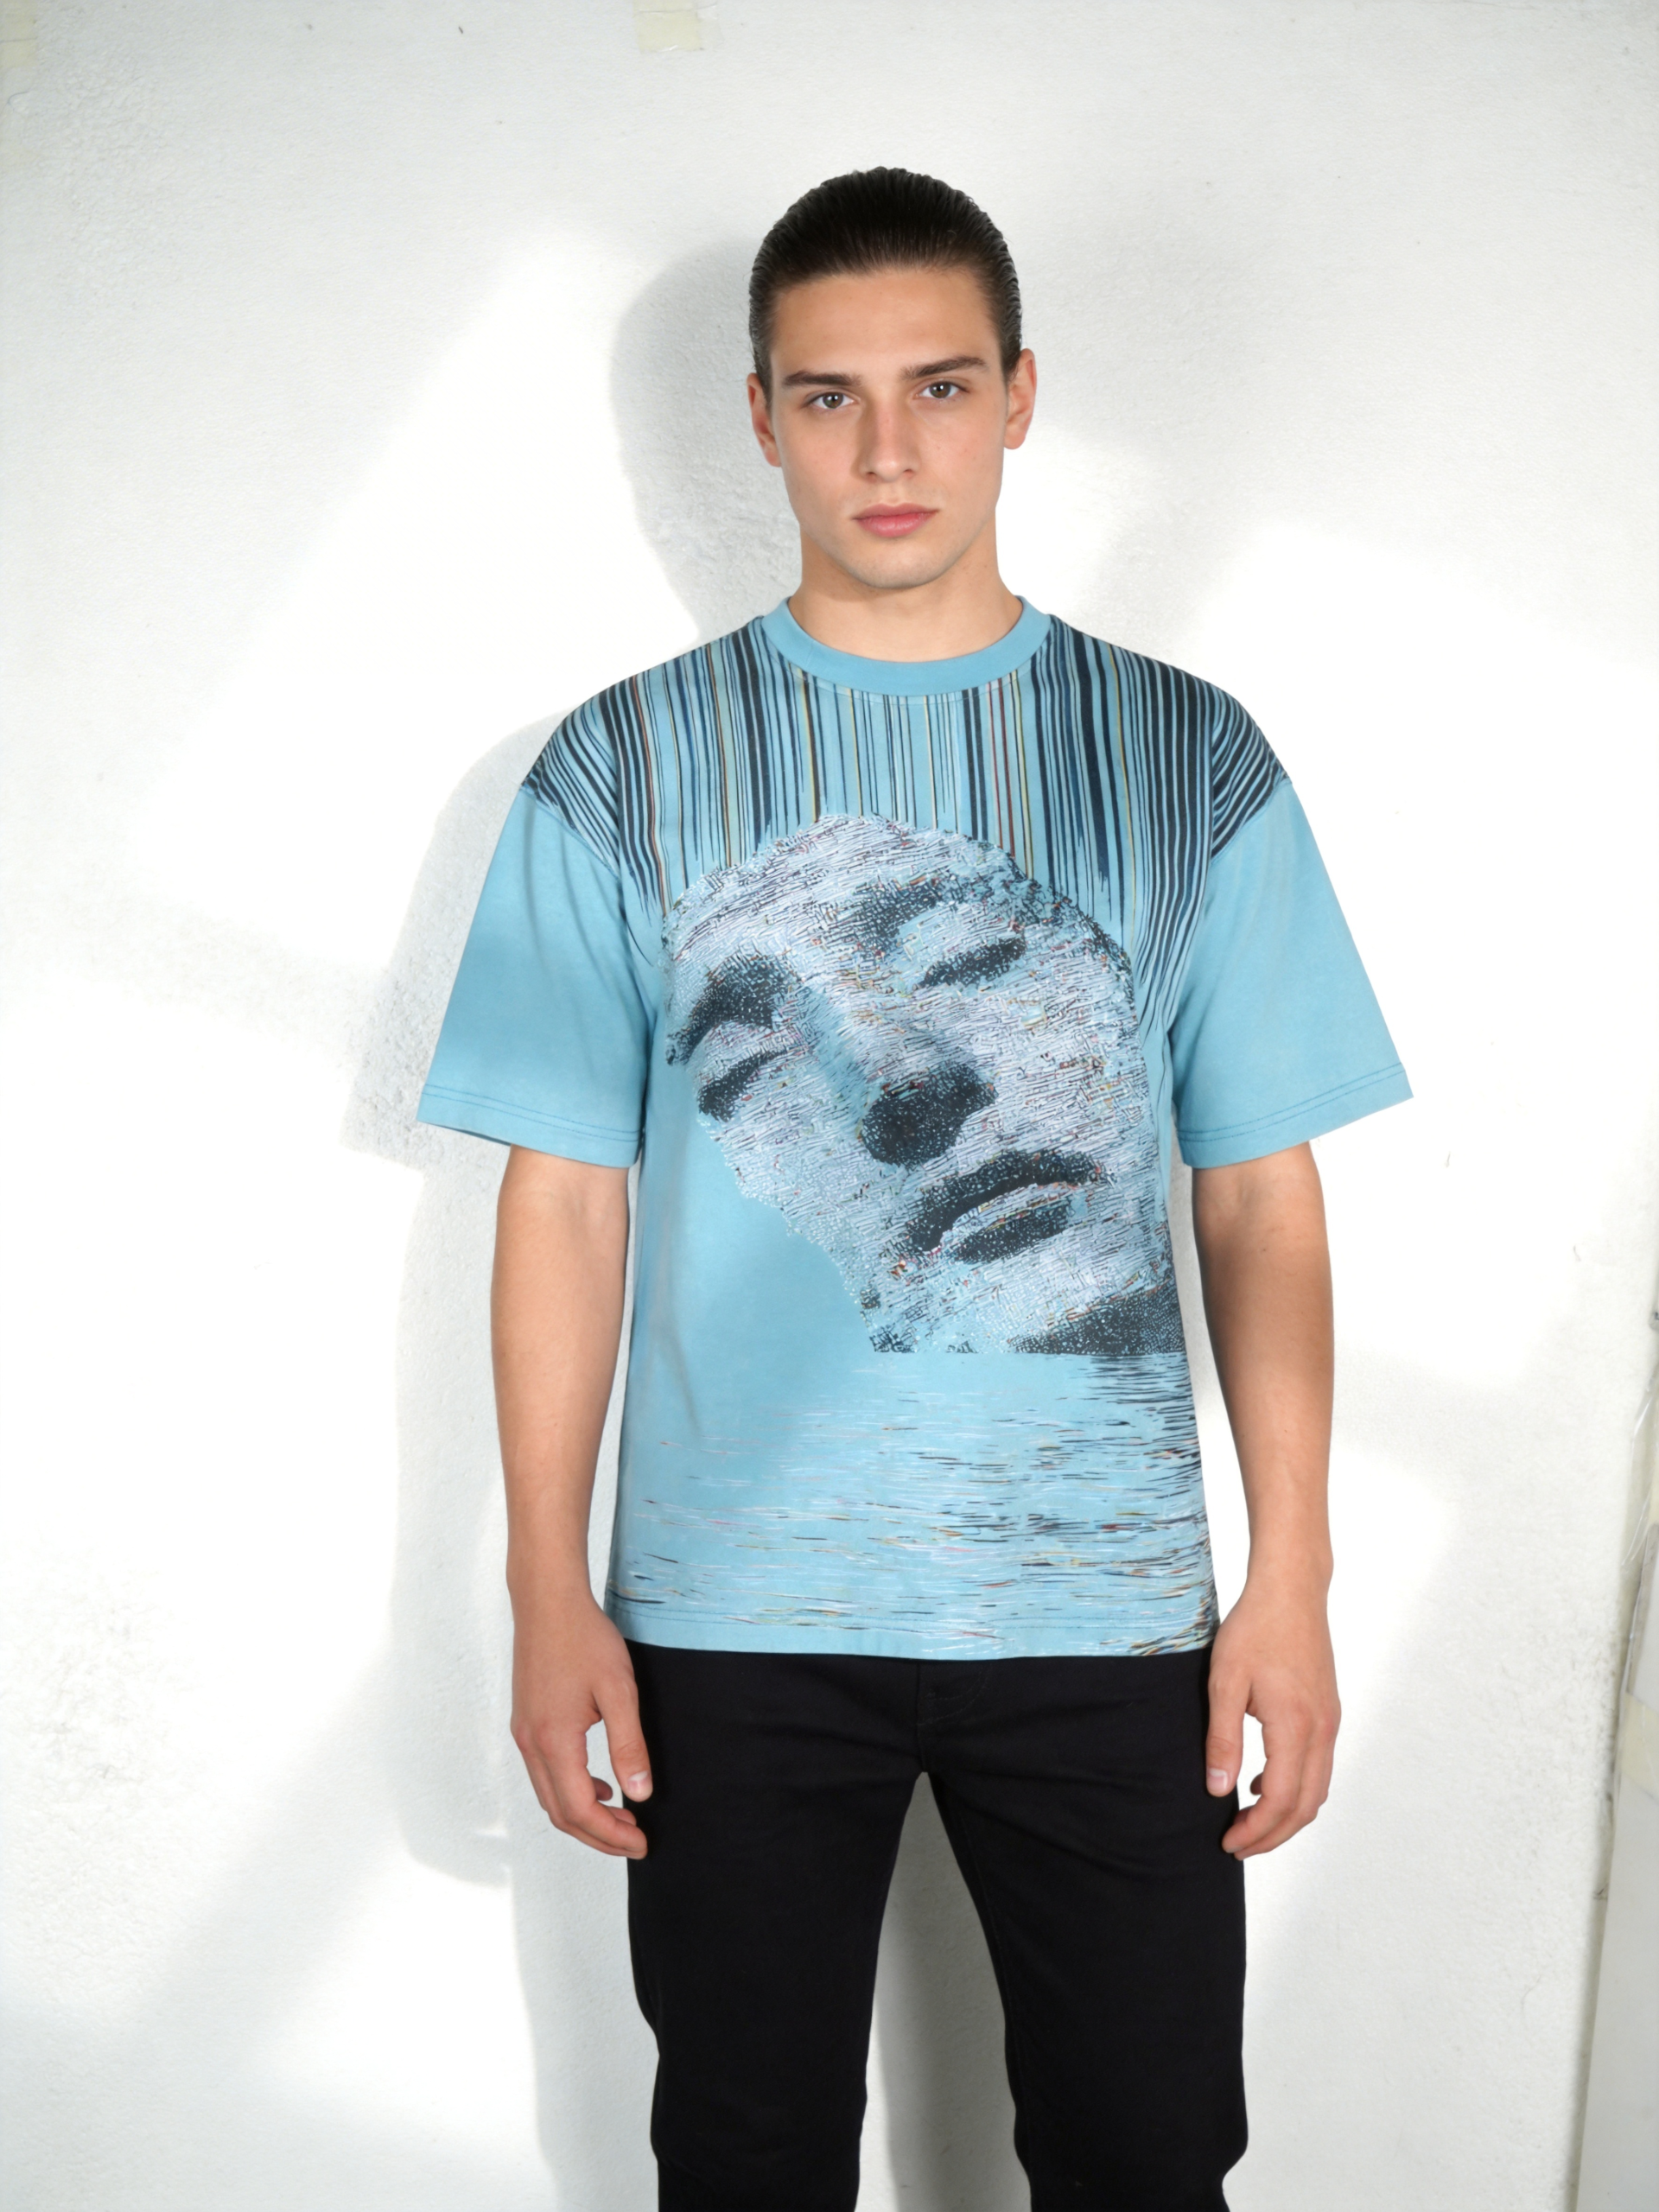
Fashionary sketchbooks provide faint dotted figure outlines so you can quickly draw wardrobe ideas without calculating proportions manually. When developing collections, compile 30–50 reference images before drawing a single sketch.
Sketch 8–12 variations of your core design idea and show them to 10 potential customers. Designs that generate immediate “I’d buy that” reactions move to technical development. This filter saves thousands in sampling costs by killing weak concepts early.
2. Master Digital Design Tools & Software
Choose software based on your design stage and budget. Beginners start with sketch apps (Procreate, $10–$15) for concept validation. Serious designers invest in Adobe Illustrator ($55/month) for flat sketches and tech packs—the industry standard for manufacturer communication. Advanced users add 3D fashion design software like CLO 3D ($500–$3,000/year) to preview fabric drape and fit before sampling.
| Software Category | Best For | Learning Curve | Cost |
|---|---|---|---|
| Procreate / Sketching Apps | Conceptual design & mood boards | Beginner-friendly | $10–$15 |
| Adobe Illustrator | Flat sketches, tech packs, patterns | Moderate | $55/month |
| CLO 3D / Tailornova | 3D visualization & virtual samples | Moderate–Advanced | $500–$3,000/year |
| Spreadshirt / Printify | Print-on-demand design | Beginner-friendly | Free–$20/month |
Adobe Illustrator dominates professional fashion because it creates vector-based technical flats—scalable drawings that maintain clarity at any size. Manufacturers require these flats in tech packs (detailed specification documents). The learning curve spans 4–6 weeks of consistent practice.
3. Develop Patterns & Create Sample Garments
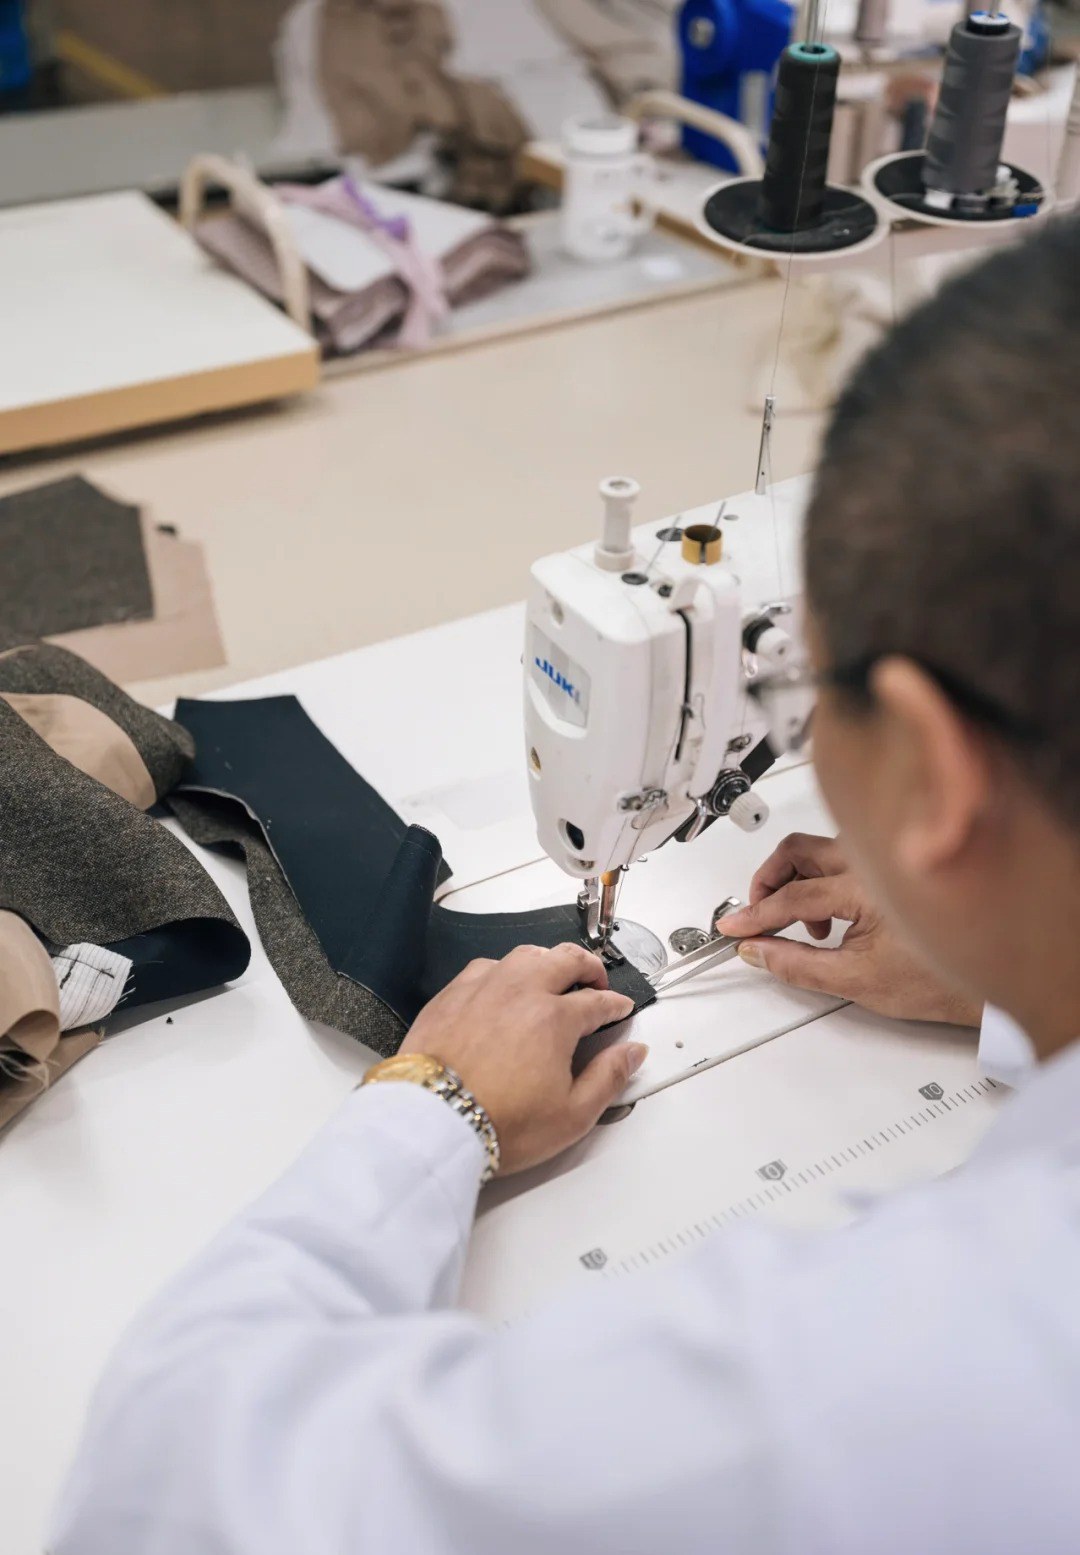
Patterns are mathematical maps translating your design into cuttable fabric pieces. Start with slopers (basic body-fitting patterns), manipulate them to add design details, then produce test garments to evaluate fit and construction. Expect 2–3 sample iterations at $50–$300 per garment before finalizing patterns for bulk production.
Creating base patterns from measurements
Draft a sloper that fits your target body type perfectly. Slopers contain zero design details—no pockets, collars, or style elements. You can draft slopers manually using measurement grids, purchase commercial patterns from companies like Vogue or Burda, or use pattern software like PatternSmith. Once your sloper fits correctly, manipulate it to add every design feature you sketched.
Commercial patterns fail most designers because they’re graded for standardized bodies that rarely match real customers. A sloper customized to your brand’s target fit ensures consistency across your entire collection.
Digitizing designs with precision measurements
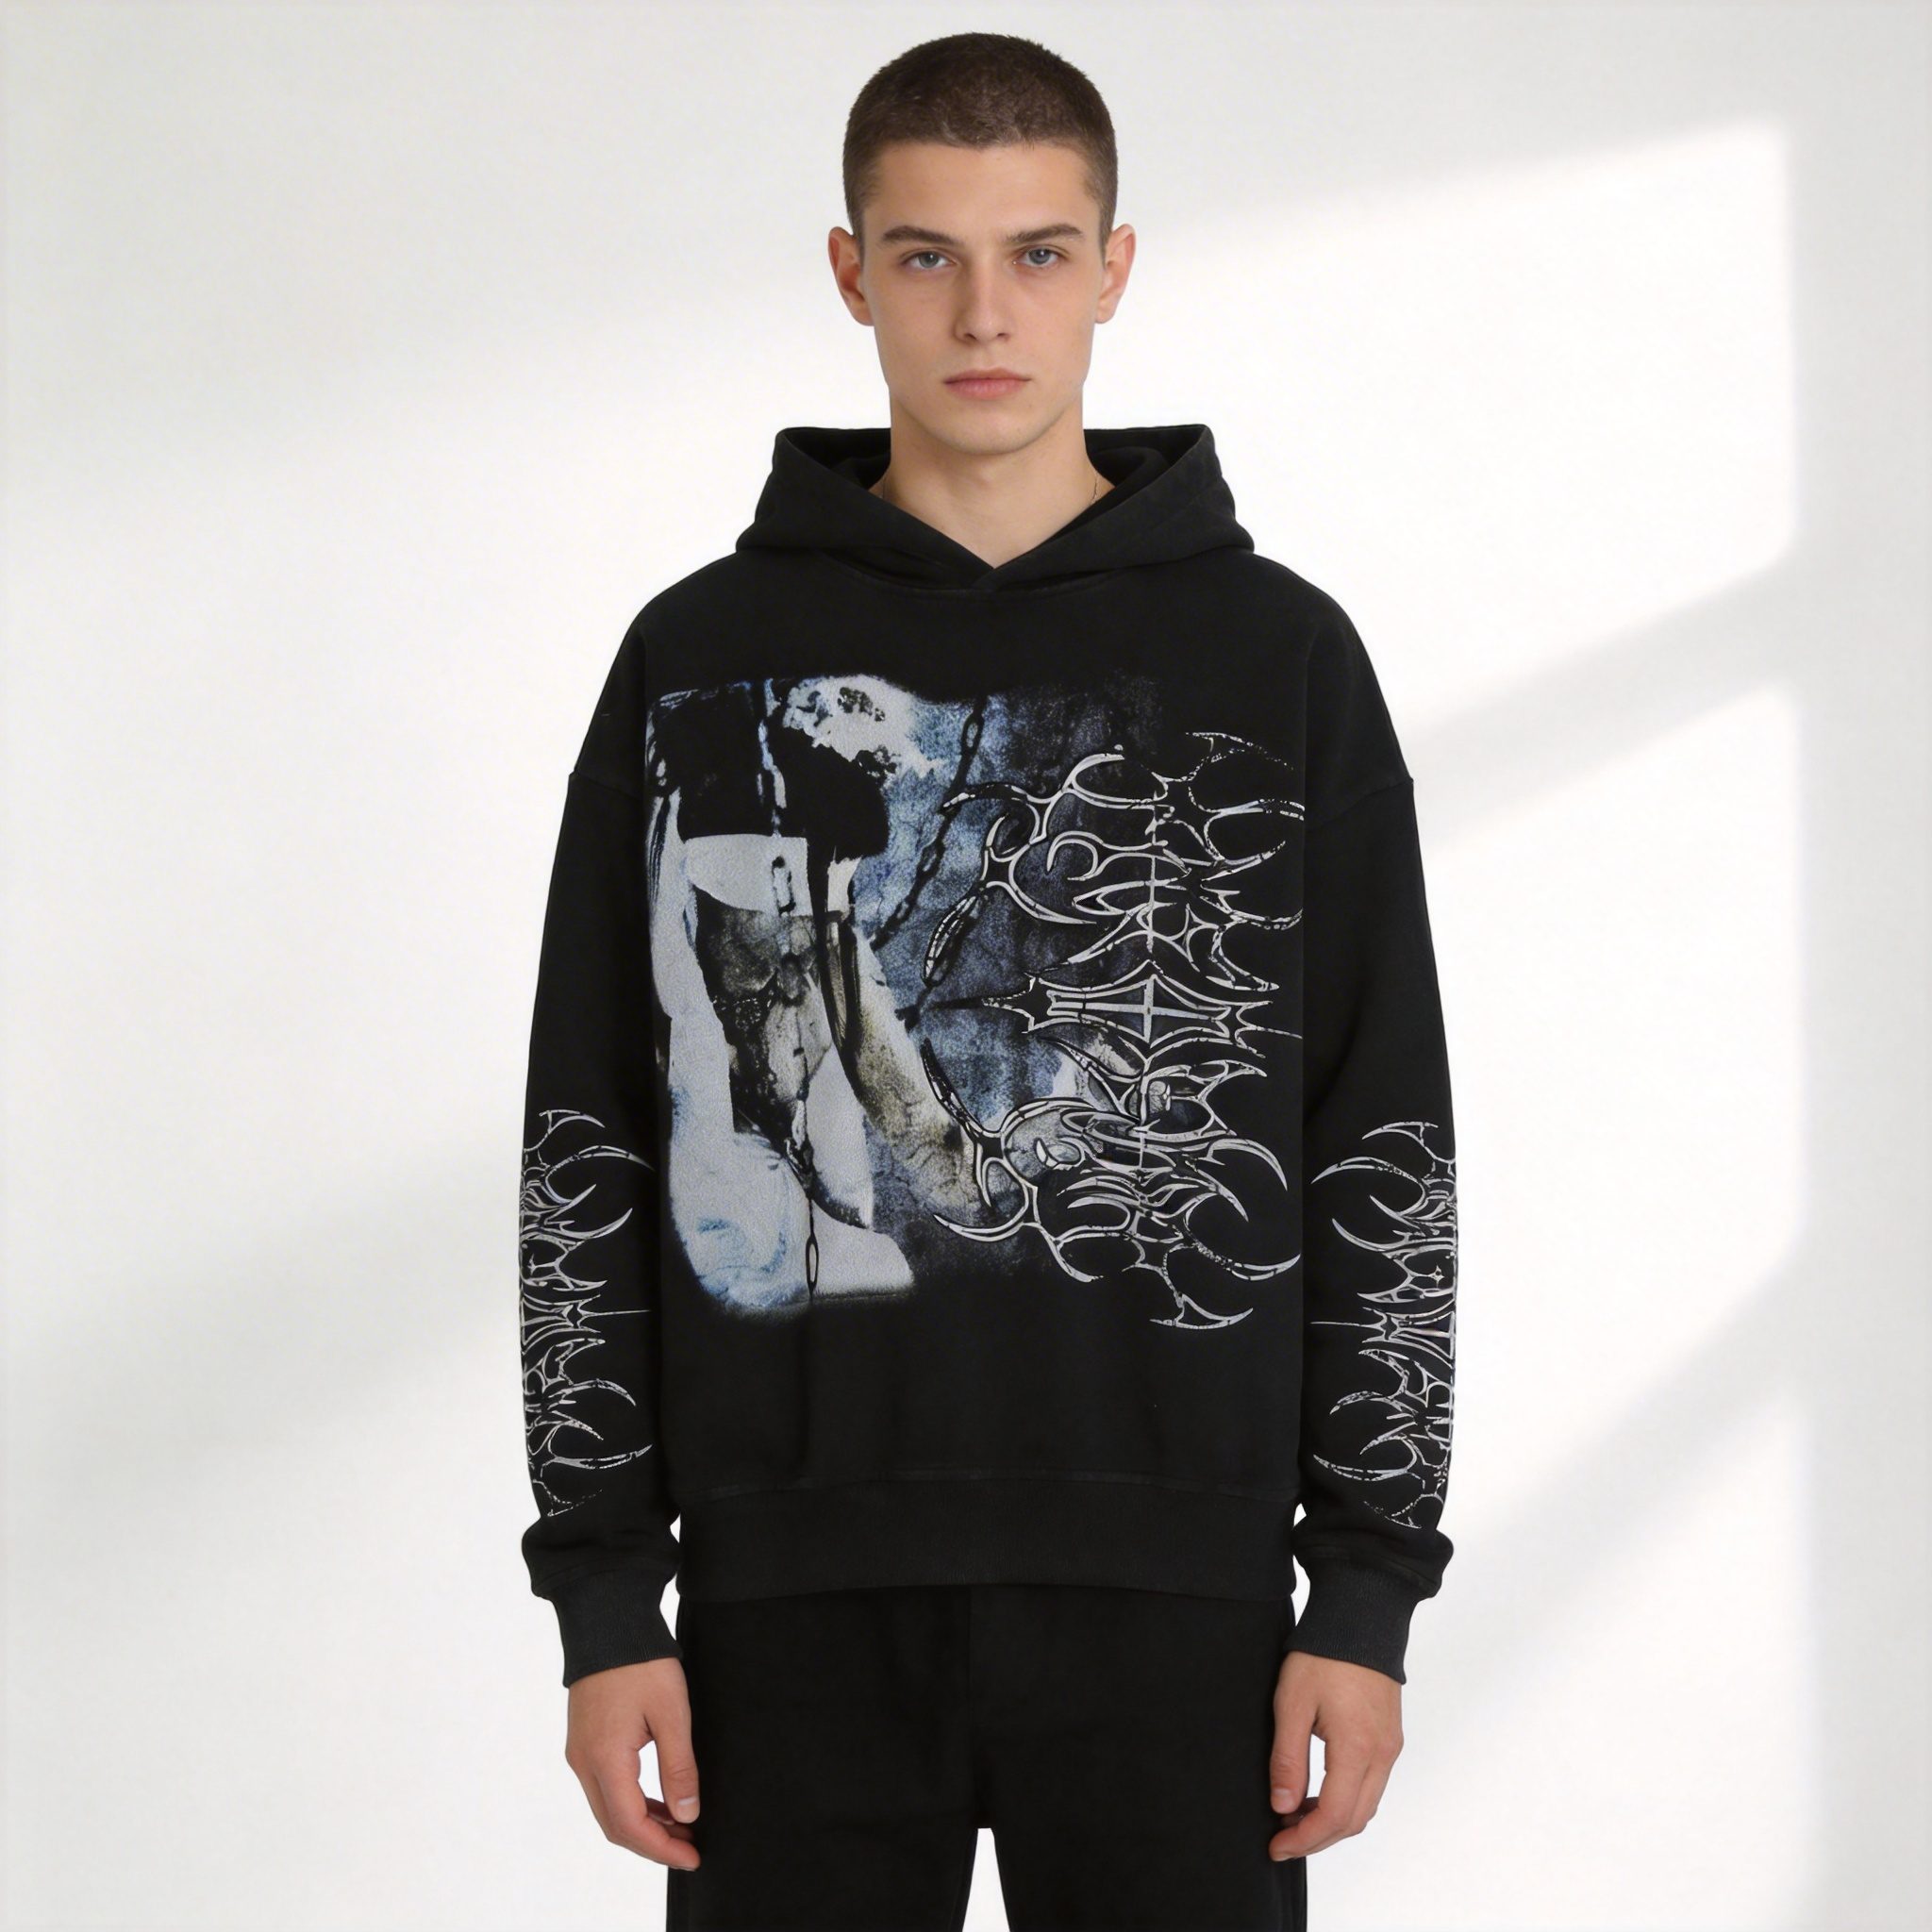
Use Adobe Illustrator or technical pattern software to translate sketches into exact 2D pattern pieces with measurements accurate to 1/8 inch. Add seam allowances (typically 3/8 to 5/8 inch), grainlines showing fabric direction, and notches marking where pieces align during sewing.
Producing and evaluating fit samples
Send your pattern to a local seamstress or small-batch manufacturer to produce one test garment. Check fit across chest, waist, hips, and shoulders. Most designers iterate 2–3 times before finalizing patterns. Brands that skip fit samples to save $200 often scrap 500-piece production runs costing $5,000 because the fit is unwearable.
Refining patterns based on feedback
Measure the sample against your target specifications. If the chest measures 42 inches but your spec calls for 44 inches, adjust the pattern by adding 1 inch to each side seam. Document every adjustment—these notes become your pattern library for future collections.
4. Choose Manufacturing & Production Methods
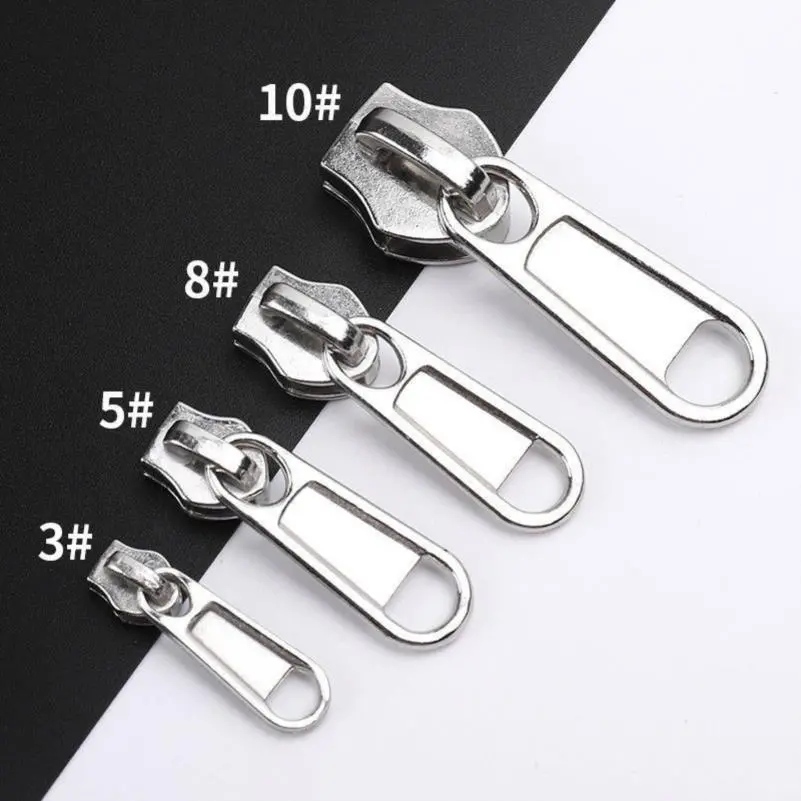
Select production methods based on your budget, order volume, and timeline. Print-on-demand suits testing and startups with no upfront capital. Small-batch manufacturers (MOQ 50–500) balance quality control and cost efficiency for indie brands. Large factories (MOQ 500+) deliver lowest per-unit pricing but require significant inventory investment.
| Production Method | MOQ | Per-Unit Cost | Lead Time | Best For |
|---|---|---|---|---|
| Print-on-Demand (Printify, Printful) | 1 piece | $15–$40 | 5–10 days | Startups, testing designs |
| Small-Batch Manufacturers | 50–500 | $5–$15 | 30–45 days | Indie brands, capsule collections |
| Mid-Tier Factories | 500–5,000 | $3–$10 | 45–60 days | Growing brands scaling production |
| Large Factories | 5,000+ | $2–$8 | 60–90 days | Established labels, high volume |
Print-on-demand eliminates inventory risk entirely. You pay only when customers order. Services like Printify and Printful integrate directly with Shopify, Etsy, and WooCommerce. The tradeoff? Per-unit costs of $15–$40 make retail pricing challenging unless your brand commands premium positioning.
Small-batch manufacturers represent the sweet spot for most independent designers. MOQs starting at 50–100 pieces require $500–$2,000 upfront investment but drop per-unit costs to $5–$15. Lead times run 30–45 days from pattern approval to finished goods, allowing seasonal collection launches.
5. Execute Quality Control & Launch Your Design
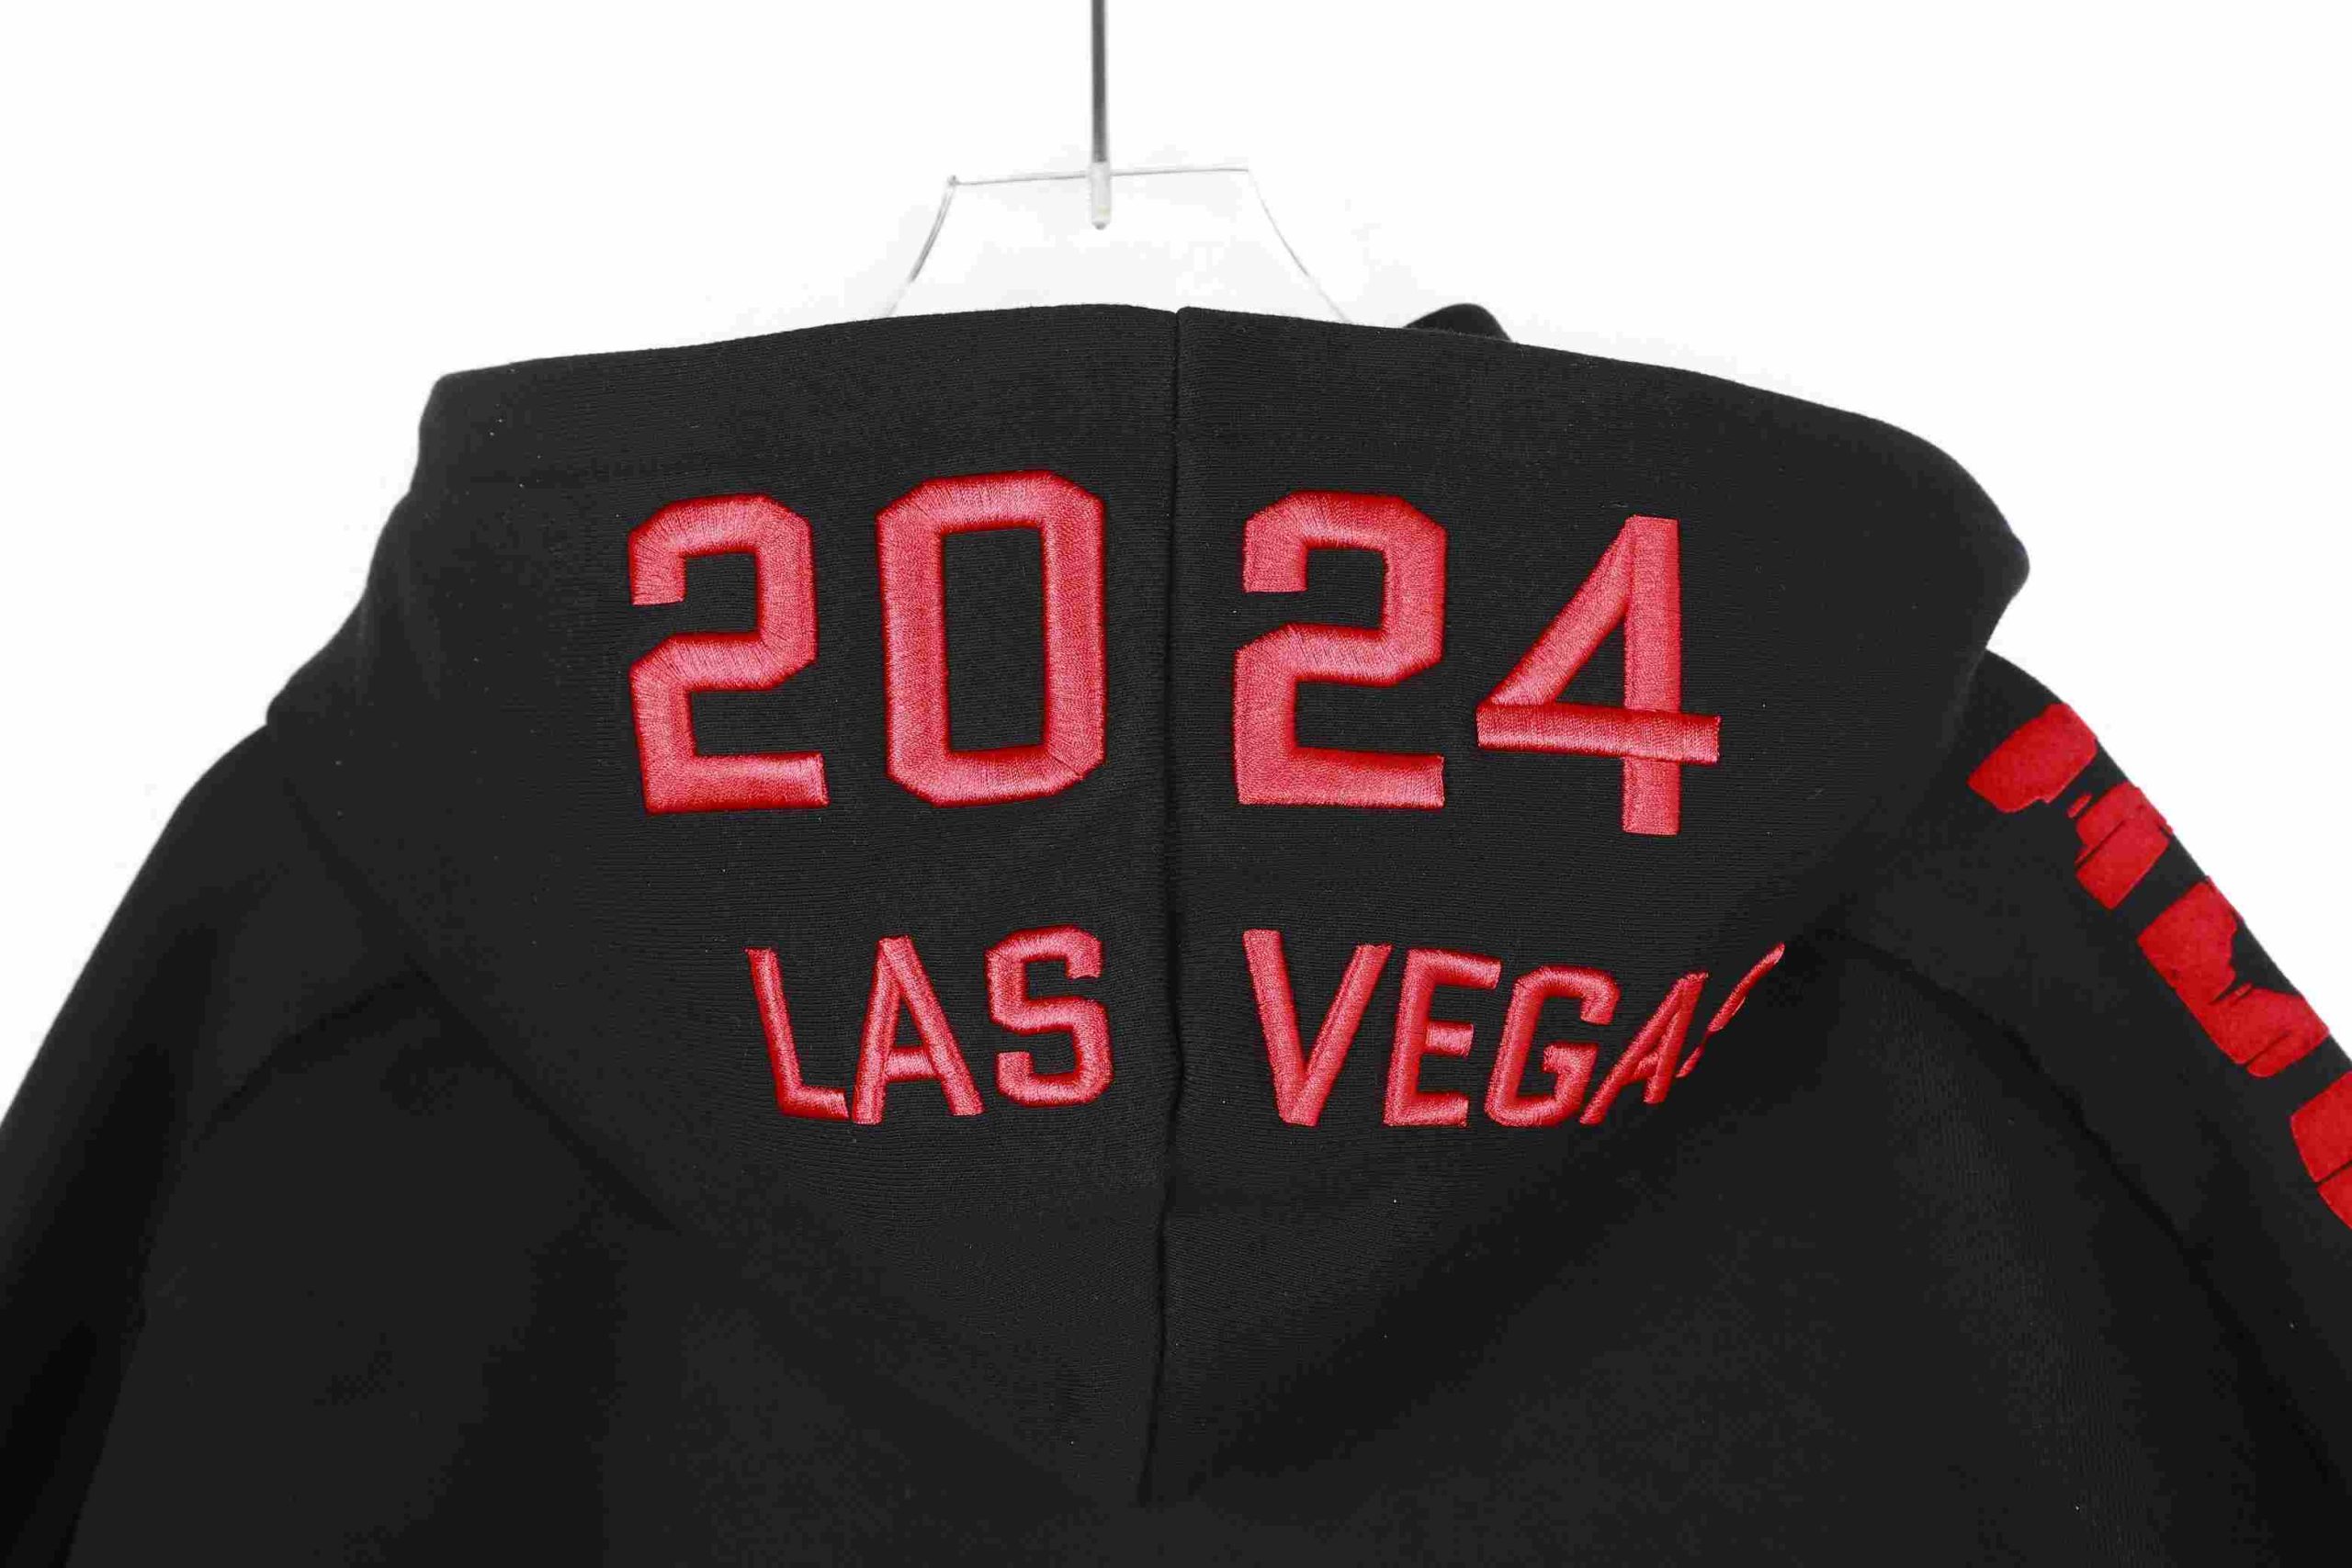
Establish quality benchmarks for fabric weight, color accuracy, stitching density, and finishing details before production begins. Implement three inspection checkpoints: raw materials upon arrival, in-line checks during manufacturing, and final product verification before shipment.
Inspecting incoming fabrics and materials
Before production begins, verify that incoming fabrics match your specifications exactly. Check color against approved lab dips using standardized lighting (D65 daylight). Measure fabric weight—if your spec calls for 280gsm fleece and the supplier delivers 240gsm, reject it. Test shrinkage by washing swatches at your garment’s care instructions.
Monitoring production quality in real-time
Assign QC staff to inspect garments mid-production. Check seam alignment, verify print placement matches your tech pack specifications, test embroidery thread tension. Implement in-line inspections at 25%, 50%, and 75% production milestones.
Performing final inspections before packaging
Before packaging, inspect finished garments against your measurement spec sheet. Use AQL (Acceptable Quality Limit) sampling—inspect 10% of a 500-piece order, 5% of orders exceeding 1,000 pieces. Check for loose threads, skipped stitches, print durability, embroidery backing visibility, and proper label placement.
Request pre-production samples (PPS) for your own product photography before bulk shipment. Professional photos on real models showcase fit, fabric texture, and design details far better than flat lays. Brands that invest $500–$1,500 in professional photography see 3–4× higher conversion rates.
FAQ
Q1: Do I need formal fashion design training to create my own clothing?
No formal training required. Modern design software and online tutorials make clothing design accessible to beginners. Start with sketching, master one software tool (Adobe Illustrator or CLO 3D), and practice pattern-making through YouTube tutorials or Skillshare courses. Many successful indie designers are self-taught.
Q2: What’s the difference between print-on-demand and traditional manufacturing?
Print-on-demand services print designs onto pre-made garments with no minimum order—ideal for testing concepts with zero inventory risk. Traditional manufacturers produce custom garments from raw fabric with MOQs ranging from 50 to 5,000 pieces, offering better profit margins but requiring upfront inventory investment.
Q3: How much does it cost to create a clothing design from concept to production?
DIY design software runs $0–$100/month. Professional pattern-making costs $200–$500 per style. Sample production ranges $50–$300 per garment. Small-batch manufacturing (100 pieces) requires $500–$2,000 total investment. Print-on-demand eliminates upfront costs entirely. Budget $1,000–$5,000 for a complete first collection launch.
Q4: How long does it take from design concept to finished product?
Typical timeline spans 8–16 weeks: design and sketching (2–4 weeks), pattern development (2–4 weeks), sample production and iteration (2–4 weeks), manufacturing (4–8 weeks). Print-on-demand compresses this to 2–3 weeks total. International freight adds 2–4 weeks.
Q5: What software do professional fashion designers actually use?
Most professionals use Adobe Illustrator for flat sketches and tech packs—it’s the industry standard. Many add CLO 3D or Browzwear for 3D visualization. Some use Procreate or Photoshop for initial concept sketching. Pattern-making specialists use Optitex or PatternSmith for grading and nesting.
Sources
- Style3D Blog — How Can You Design Your Own Clothes Easily — 2026, comprehensive digital design workflow
- Printify — Custom Clothing Platform — print-on-demand production economics
- The Sewing Retreat — How to Design and Start Making Your Own Clothes — Fashionary sketchbook methodology
- CLO 3D — 3D Fashion Design Software — virtual garment simulation technology
- Tailornova — Online Clothing Design Software — pattern generation tools
Written by Alin Zeng (27 Years of Master Craftsmanship & Pattern Making, Global OEM & Streetwear Customization Excellence, End-to-End Supply Chain & One-Stop Production, High-Efficiency Cost Control (“Quality + Affordability”), Incubating 2,000+ Fashion Brands from Scratch). Last reviewed 2026-06-27.